The Complete Guide to Crochet Granny Square Patterns That Actually Work
Crochet granny square patterns confuse many beginners. You watch a tutorial, follow the steps, and somehow your square looks wonky. The edges don’t line up. The holes seem random. Your finished project looks nothing like the Pinterest inspiration.
Here’s the truth: most people fail because they don’t understand the basic structure. They jump into complex patterns without mastering the foundation. But once you grasp the core concept, everything clicks into place.
This guide breaks down granny squares in a way that makes sense. You’ll learn the classic pattern, explore creative variations, and discover how to avoid common mistakes. No confusing jargon. No assumptions about your skill level. Just clear, actionable steps that get you creating beautiful squares today.
Understanding the Basic Crochet Granny Square Pattern
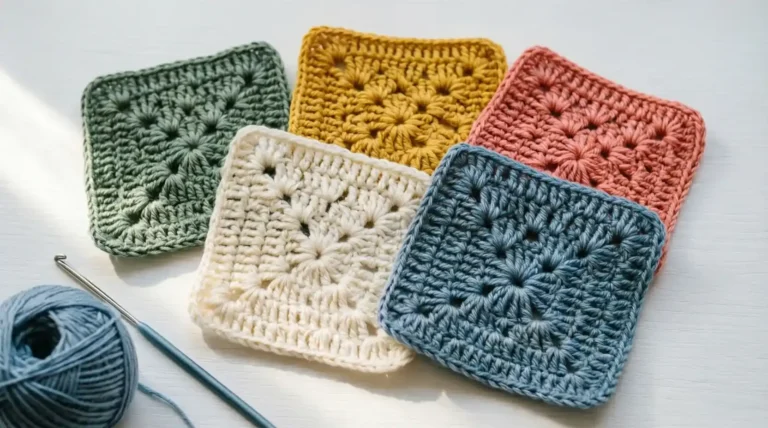
The traditional granny square follows a simple formula. You start with a center ring. Then you build outward in rounds. Each round adds clusters of stitches with spaces between them.
Think of it like building a house. The center ring is your foundation. Each round is another layer. The spaces create natural corners and edges.
The Core Structure Explained
A basic crochet granny square pattern uses double crochet stitches. You work three double crochets together (called a cluster). Then you chain two stitches. This creates the iconic open, airy look.
Most squares start with four clusters in round one. Each cluster sits in a corner. The chain spaces between clusters form the sides.
Why Granny Squares Work So Well
Granny squares are forgiving. Miss a stitch? You probably won’t notice. Your tension varies? The pattern hides it. They work up fast and use minimal yarn.
Plus, you can stop at any size. Want a coaster? Make two rounds. Need a blanket square? Keep going for ten rounds.
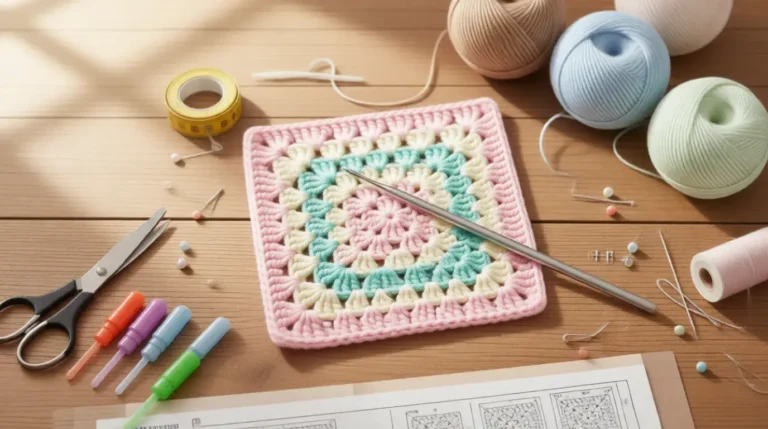
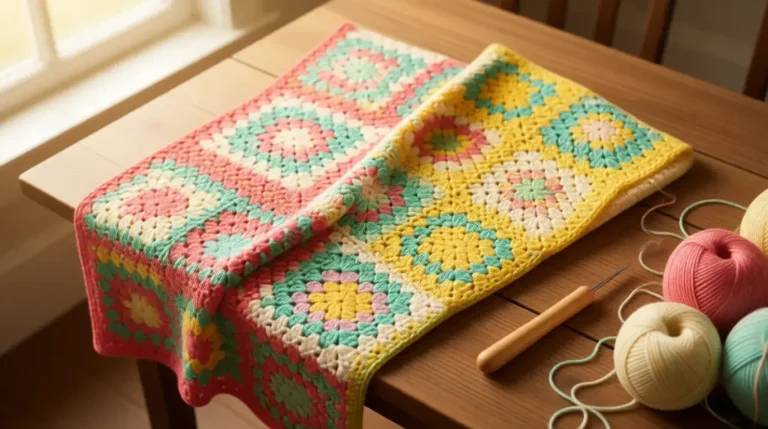
Free Crochet Granny Square Pattern for Complete Beginners
Let’s walk through a beginner crochet granny square pattern step by step. Grab your hook and yarn. We’re making your first square right now.
Materials You Need
- Worsted weight yarn (any color)
- 5.5mm (I-9) crochet hook
- Scissors
- Yarn needle for weaving ends
Step-by-Step Instructions
Round 1: Chain 4. Join with slip stitch to form ring. Chain 3 (counts as first double crochet). Make 2 more double crochets in ring. Chain 2. Repeat three more times (3 double crochets, chain 2). Join to top of starting chain 3.
Round 2: Slip stitch to first chain-2 space. Chain 3. Make 2 double crochets in same space. Chain 1. In same space, make 3 double crochets, chain 2, 3 double crochets (this creates a corner). Chain 1. Continue around. Join.
Round 3: Repeat the pattern. Each corner gets (3 dc, chain 2, 3 dc). Each side gets (3 dc, chain 1). Your square grows outward.
This simple crochet granny square pattern free approach works every time. The pattern stays consistent as you add rounds.
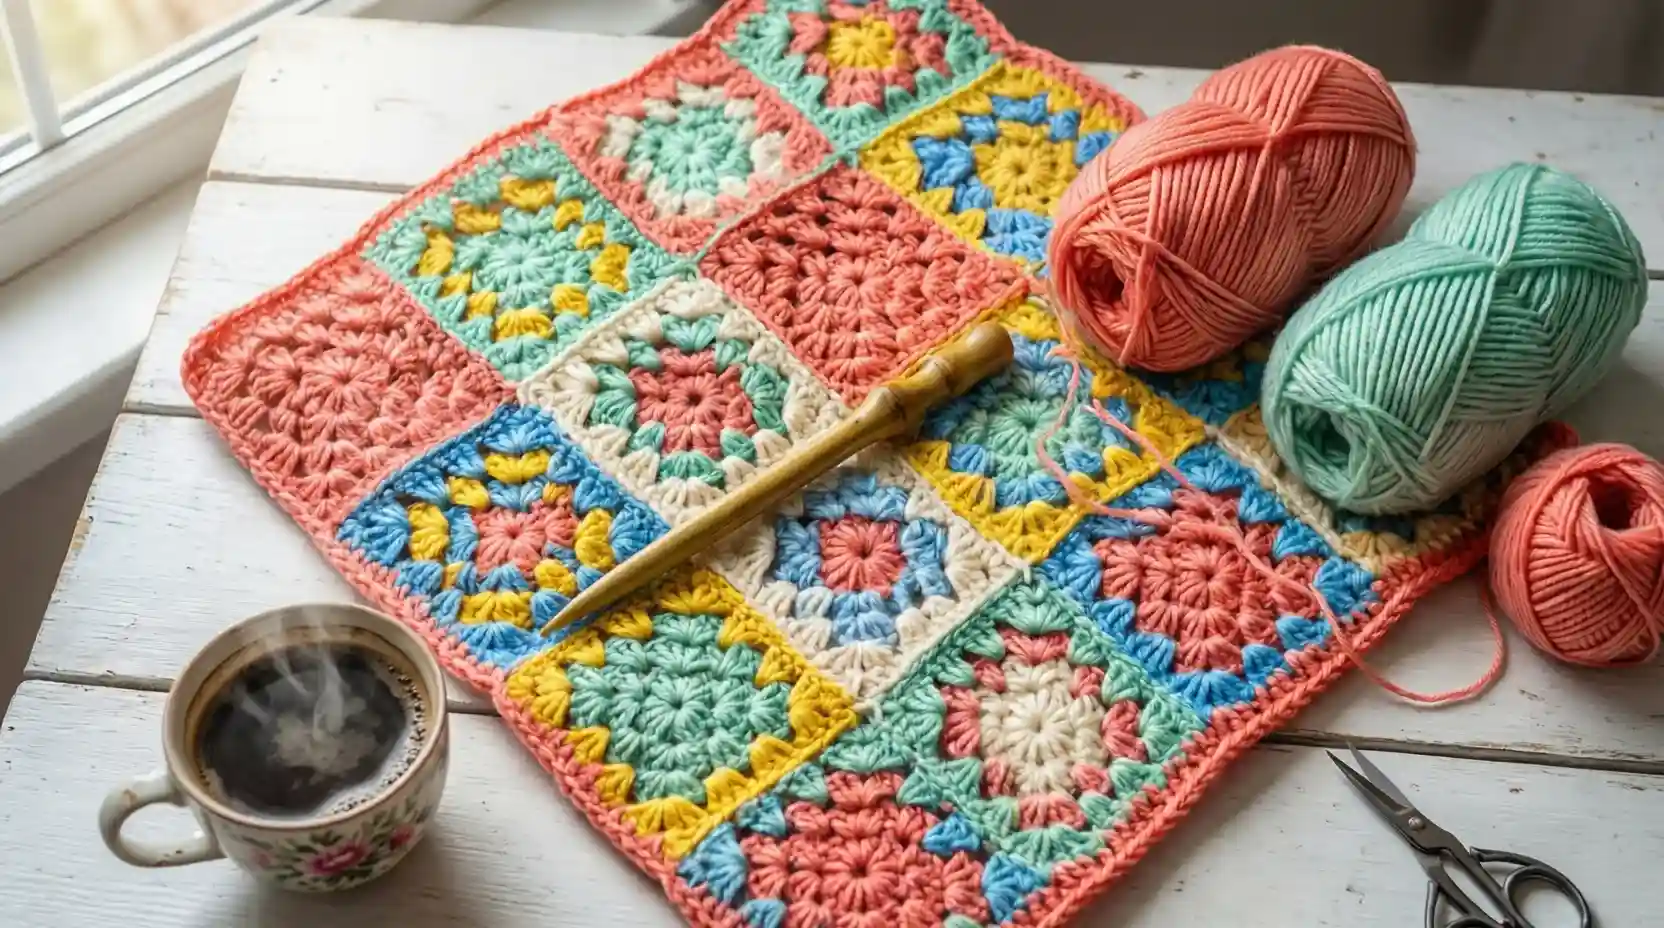
Different Types of Granny Square Patterns
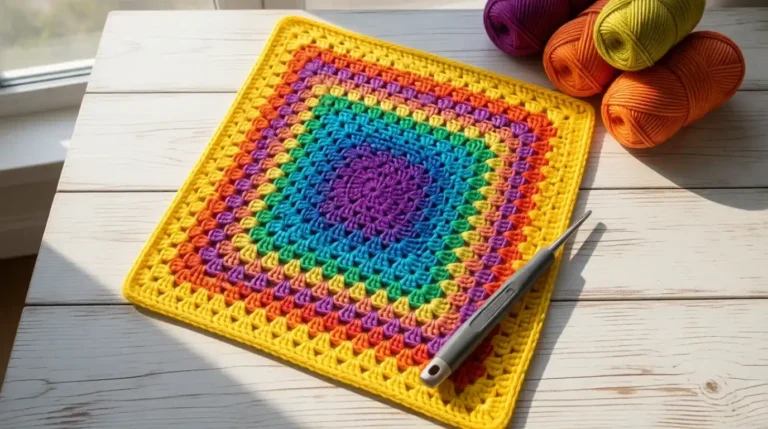
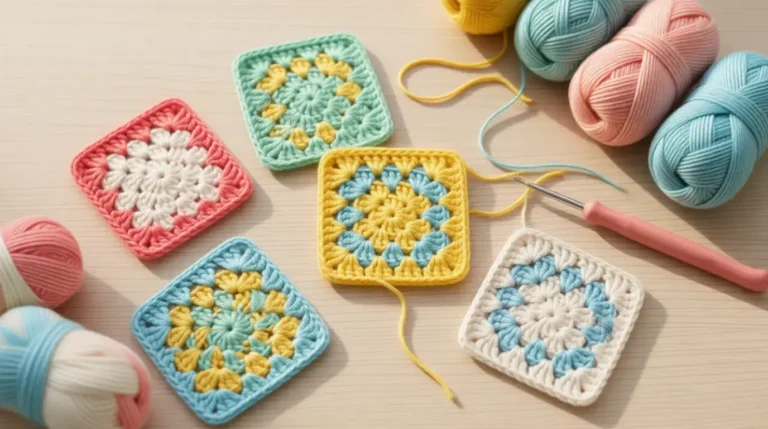
Traditional squares are just the beginning. Countless variations exist. Each creates a different texture and look.
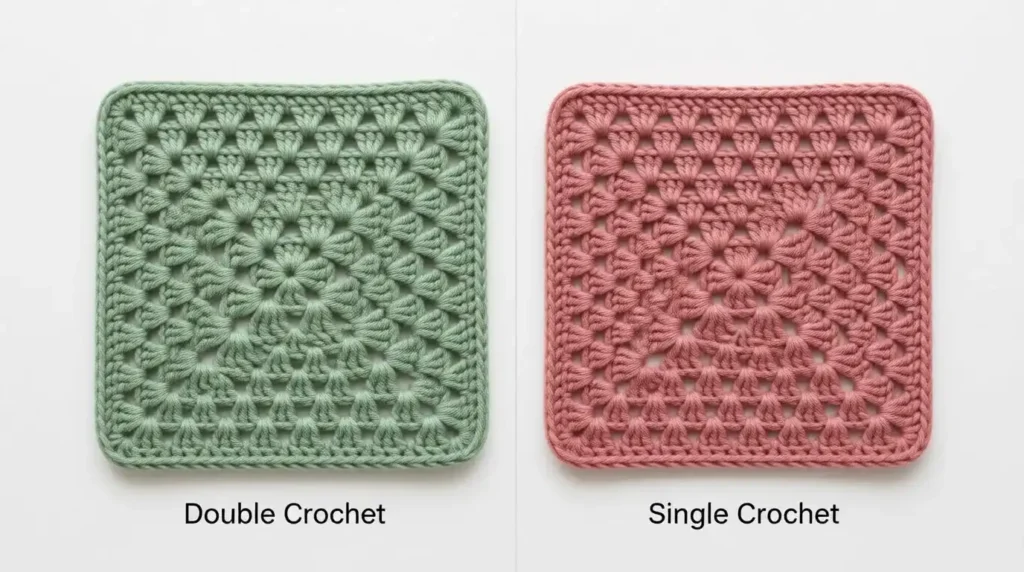
Double Crochet vs Single Crochet Variations
A double crochet granny square pattern creates loose, drapey fabric. It works up quickly. The spaces between stitches are larger.
A single crochet granny square pattern makes denser fabric. It takes longer but creates a sturdier square. Perfect for bags or rugs that need structure.
The technique changes slightly. Instead of clusters of three, you might work single crochets continuously. Or alternate between front loop and back loop for texture.
Solid vs Open Square Designs
| Pattern Type | Characteristics | Best For |
|---|---|---|
| Traditional Open | Visible holes, lightweight, fast | Blankets, shawls, summer tops |
| Solid/Filled | No gaps, heavier, slower | Winter accessories, bags, cushions |
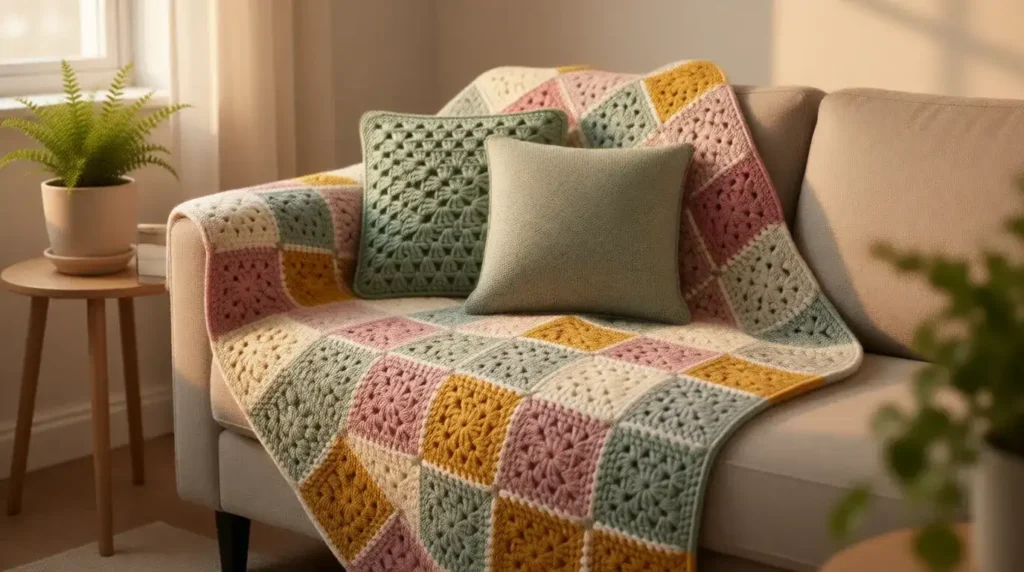
| Semi-Solid | Some texture, medium weight | Year-round projects, decorative items |
Open squares show off your yarn’s color. Solid squares let you add intricate stitch patterns. Choose based on your project’s purpose.
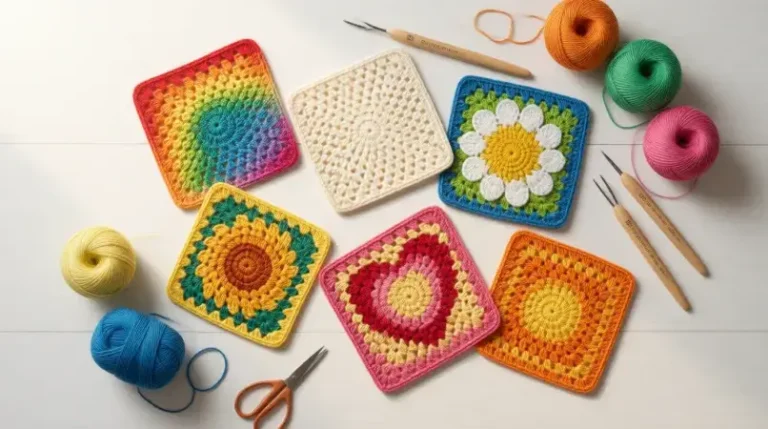
Easy Flower and Daisy Crochet Granny Square Patterns
Flower motifs add charm to any project. They’re easier than you think. The trick is building the flower into the first few rounds.
Creating a Daisy Center
A daisy crochet granny square pattern starts differently. Round one creates the flower center (usually yellow). Round two builds petals around it (typically white).
Chain 4, join. Round 1: Work 12 single crochets in ring. Round 2: (Chain 3, skip 1 stitch, slip stitch in next stitch) six times. These chains become petals.
Then you switch to your background color. Continue with traditional granny square rounds around the flower.
Sunflower Square Variations
A sunflower crochet granny square pattern uses similar principles. The center needs texture to mimic seeds. Try using a brown or dark brown yarn with popcorn stitches.
For petals, use bright yellow. Make them longer than daisy petals. Chain 4 or 5 instead of 3. This creates the sunflower’s characteristic long petals.
The sunflower crochet granny square pattern free versions online often include photo tutorials. Visual guidance helps with petal placement.
Heart and Floral Designs
A heart crochet granny square pattern requires planning. The heart shape emerges through color changes. You’ll switch colors mid-round to create the outline.
Start with a center in your background color. In rounds 3-5, introduce your heart color strategically. Count your stitches carefully. The heart needs symmetry to look right.
Flower crochet granny square patterns come in endless varieties. Roses, tulips, daisies, and abstract blooms. Each follows the same principle: build the design into early rounds.
Reading and Using Crochet Granny Square Pattern Diagrams
Diagrams intimidate beginners. Those symbols look like hieroglyphics. But once you crack the code, diagrams become invaluable.
Understanding Symbol Charts
A crochet granny square pattern diagram uses international symbols. Each stitch has a specific mark. An oval represents a chain stitch. A tall T shape means double crochet.
The diagram shows you exactly where stitches go. You can see the pattern’s structure at a glance. No more re-reading confusing written instructions.
Common Symbols You’ll See
- Chain: small oval or dash
- Single crochet: X or +
- Double crochet: tall T
- Slip stitch: dot or small oval
- Chain space: curved line connecting stitches
Numbers indicate rounds. Start from the center. Work outward following the symbols. The diagram shows each stitch’s exact placement.
Why Diagrams Beat Written Patterns
You can see the whole square layout. Color changes become obvious. Stitch placement makes visual sense. Plus, diagrams transcend language barriers.
Many crochet granny square pattern diagrams include both symbols and written instructions. Use whichever format works for your brain.
Designer Patterns and Special Techniques
Some designers create signature granny square styles. Their patterns become instantly recognizable.
Lori Holt’s Granny Square Approach
The Lori Holt crochet granny square pattern combines quilting aesthetics with crochet. Her squares often feature multiple colors. They create patchwork effects reminiscent of traditional quilts.
Holt’s patterns emphasize precision. Each color change happens at specific points. The result looks planned and polished, not random.
Her technique works beautifully for throw blankets. The structured color placement creates cohesive designs. Perfect if you love both quilting and crochet.
Working With Advanced Stitch Combinations
Advanced patterns combine different stitch types. You might use double crochets for structure, then add popcorn stitches for texture. Or integrate post stitches for raised details.
These variations require attention to stitch count. But they create stunning dimensional effects. Your squares become textured art pieces.
Comparing Different Granny Square Methods
Not all granny squares follow the same construction. Understanding these differences helps you choose the right pattern.
| Method | Difficulty | Speed | Best Projects |
|---|---|---|---|
| Traditional | Beginner | Fast | Blankets, scarves, basic items |
| Solid Square | Intermediate | Medium | Bags, cushions, structured pieces |
| Motif-Based | Intermediate | Medium | Decorative throws, wall hangings |
| Continuous Join | Advanced | Slow | Seamless blankets, professional finish |
The easy crochet granny square pattern typically means traditional construction. It’s fast, forgiving, and versatile.
Continuous join methods eliminate seaming later. You connect squares as you go. This saves time on large projects but requires careful planning.
Tips for Perfect Granny Squares Every Time
Consistency matters. Here’s how to achieve it.
Maintaining Even Tension
Tension affects square size. Tight stitches create small, stiff squares. Loose stitches make large, floppy ones.
Practice keeping consistent pressure on your yarn. Don’t strangle it. Don’t let it hang loose. Find your comfortable middle ground.
Counting Stitches Accurately
Count after each round. Verify your stitch count matches the pattern. Mistakes compound quickly in granny squares.
Each corner should look identical. Each side should have the same stitch count. If numbers don’t match, something went wrong.
Blocking for Professional Results
Blocking transforms wonky squares into perfect shapes. Wet your finished square. Pin it to a blocking board in exact dimensions. Let it dry completely.
This sets the stitches. Your corners become sharp. Your sides straighten. The difference is dramatic.
Joining Granny Squares Into Projects
Individual squares are great. But joining them creates finished projects. Several methods exist for connecting squares.
Whipstitch Method
The simplest approach. Hold two squares wrong sides together. Whipstitch through both layers. This creates a visible seam on the right side.
Some crafters embrace this look. The seams become part of the design. Choose a contrasting color to highlight them.
Invisible Join Technique
This method hides seams completely. Work through specific loops only. The join blends into the pattern.
It takes practice. But the professional finish is worth it. Your blanket looks seamless and polished.
Join-as-You-Go Options
Connect squares during the final round. You work one side of a new square directly into a finished square. No separate joining step needed.
This works perfectly for large blankets. You avoid hours of tedious seaming later. The trade-off? Less flexibility in arranging your squares.
Frequently Asked Questions
What is the easiest crochet granny square pattern for beginners?
The traditional basic crochet granny square pattern is easiest. It uses only chain stitches, double crochets, and slip stitches. Start with worsted weight yarn and a 5.5mm hook. Make a magic ring, work three rounds following the standard cluster pattern. This builds your confidence quickly.
How do I read a crochet granny square pattern diagram?
Start from the center circle. Read counterclockwise (for right-handed crocheters). Each symbol represents a specific stitch type. Chains appear as ovals, double crochets as T shapes. Numbers show which round you’re working. Follow symbols in order around each round.
Can I make a granny square with single crochet instead of double crochet?
Yes, absolutely. A single crochet granny square pattern creates denser fabric. The construction principle stays the same. Work clusters of stitches with spaces between. Single crochet squares work slower but produce sturdy results. Perfect for bags or items needing structure.
Where can I find free crochet granny square patterns?
Many websites offer free crochet granny square patterns. Check Ravelry, Yarnspirations, and craft blogs. Pinterest links to thousands of options. YouTube provides video tutorials for visual learners. For curated collections, visit resources like <a href=”https://intersquares.com/granny-square-pattern/”>granny square pattern collections</a> that organize patterns by style and difficulty.
How many rounds do I need for a standard granny square?
Standard blanket squares typically use 6-8 rounds. This creates approximately 6-inch squares with worsted weight yarn. Coasters need only 2-3 rounds. Afghan squares might go to 10-12 rounds. Your yarn weight and hook size affect final dimensions significantly.
What’s the difference between a granny square and other crochet squares?
Granny squares feature the iconic cluster-and-chain structure. Other squares might use continuous stitches, different stitch combinations, or solid fills. The granny square crochet granny square pattern specifically creates those characteristic holes and corner clusters. Other square patterns produce different textures and densities.
Start Creating Your First Granny Square Today
Crochet granny square patterns offer endless creative possibilities. You’ve learned the basic structure, explored variations, and discovered techniques for professional results.
The traditional pattern uses simple stitches in a repeating formula. Flower motifs add personality. Designer approaches create unique effects. Diagrams simplify complex patterns.
Start with the simple crochet granny square pattern outlined earlier. Make three squares. Notice how your technique improves. Your tension evens out. Your confidence grows.
Don’t aim for perfection on your first try. Embrace the learning process. Each square teaches you something new. Before you know it, you’ll be creating beautiful blankets, bags, and accessories.
Grab your hook and yarn. Choose your favorite colors. Start that first chain stitch. Your granny square journey begins now.