Classic Granny Square Pattern: Master This Timeless Crochet Technique
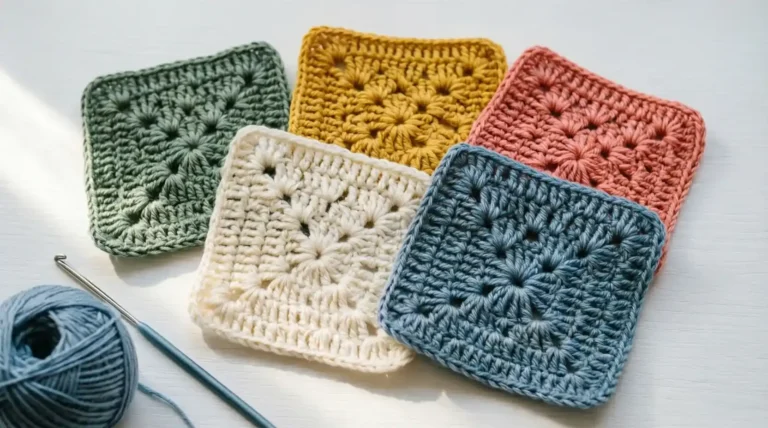
The classic granny square pattern is the foundation of crochet. You’ve probably seen these colorful squares everywhere. But learning to make them can feel overwhelming.
Many beginners struggle with understanding the rounds. They get confused about where to place stitches. Counting chains becomes frustrating.
Here’s the good news: mastering this pattern is simpler than you think. Once you learn the basic structure, you can create endless variations. You’ll be able to make blankets, bags, and decorative pieces with confidence.
In this guide, you’ll discover step-by-step instructions for creating perfect granny squares. You’ll learn common mistakes to avoid. Plus, you’ll get practical tips that experienced crocheters use every day.
What Makes the Classic Granny Square Pattern Special
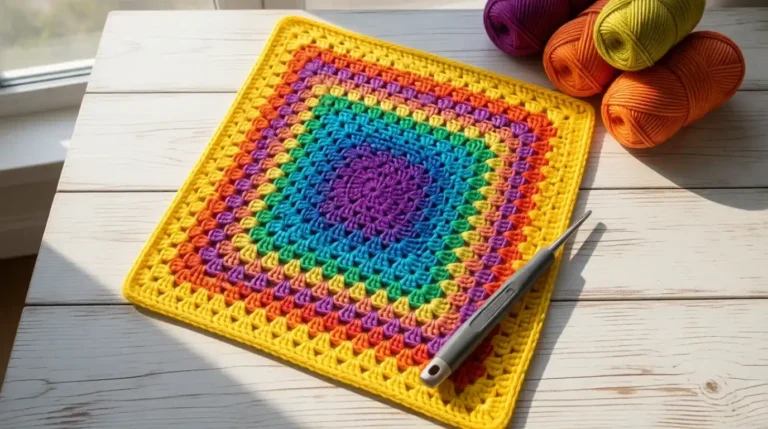
The classic granny square pattern stands out for good reasons. It’s versatile. It’s beginner-friendly. And it creates beautiful textures that work for any project.
This pattern uses simple double crochet stitches grouped in threes. Between each cluster, you add chain spaces. This creates the signature openwork design that makes granny squares so recognizable.
The real magic happens when you join multiple squares together. You can mix colors freely. Each square becomes a mini canvas for your creativity.
Why Beginners Love This Pattern
Starting with a granny square gives you quick wins. Here’s why it works so well for newcomers:
- You only need to know three basic stitches: chain, slip stitch, and double crochet
- The pattern repeats in every round, making it easy to memorize
- You can complete a small square in under 15 minutes
- Mistakes are easy to spot and fix quickly
This makes the easy classic granny square pattern perfect for building your crochet confidence. Each completed square proves you’re making progress.
Understanding the Basic Granny Square Pattern Structure
Every crochet classic granny square pattern follows a specific blueprint. Understanding this structure helps you work faster. It also makes reading patterns much easier.
The pattern starts with a center ring. From there, you build outward in rounds. Each round adds another layer to your square.
The Magic Ring Foundation
Most modern patterns use a magic ring to start. This creates a tight, adjustable center. You can also chain 4 and join with a slip stitch if you prefer.
The first round establishes your four corners. You work 12 double crochets into the ring, separated by chain-2 spaces. These spaces become your corner positions.
Building Each Round
Every subsequent round follows the same logic. You work clusters of three double crochets in chain spaces. At corners, you add extra chain spaces to create the turn.
The pattern grows predictably. Round 2 has four clusters per side. Round 3 has eight. This mathematical progression makes sizing your squares reliable. When you explore different granny square patterns, this foundation stays consistent.
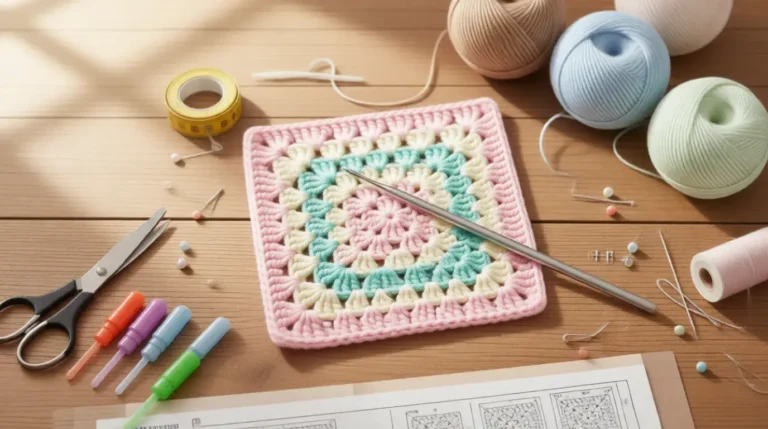
Step-by-Step Classic Granny Square Pattern Instructions
Ready to create your first square? Follow these detailed instructions. Take your time with each step.
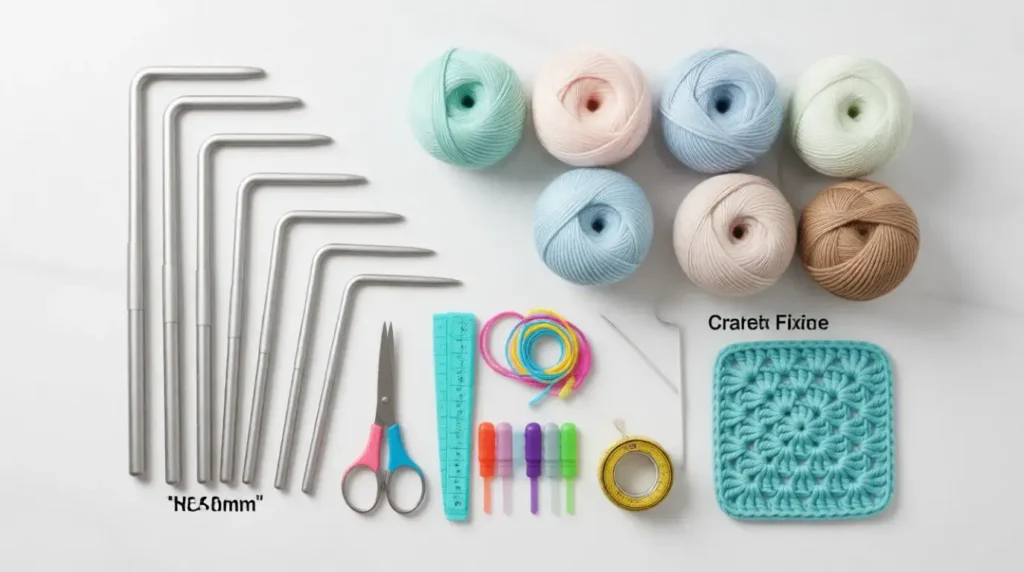
Materials You’ll Need
Gather these supplies before starting:
- Medium weight yarn (worsted weight works best for beginners)
- 5.5mm crochet hook (size I/9)
- Yarn needle for weaving in ends
- Scissors
Round 1: Creating the Center
Make a magic ring or chain 4 and join. Chain 3 to count as your first double crochet. Work 2 more double crochets into the ring.
Chain 2 for the corner space. This pattern classic granny square pattern technique creates the turn. Repeat three more times: work 3 double crochets, chain 2.
Join with a slip stitch to the top of your starting chain-3. Pull the magic ring tight if you used one.
Round 2: Establishing the Square Shape
Slip stitch into the first chain-2 corner space. Chain 3, then work 2 double crochets in the same space. This starts your corner cluster.
Chain 2, then work 3 double crochets in the same corner space. You’ve just completed one corner. Chain 1 for the side space.
Move to the next corner space. Work your corner: 3 double crochets, chain 2, 3 double crochets. Repeat for all four corners with chain-1 spaces between them.
Continuing Additional Rounds
Each new round follows the same principle. Work corner clusters in corner spaces. Work regular 3-double-crochet clusters in side spaces.
The diagram classic granny square pattern shows this visually. Corner spaces always get chain-2. Side spaces get chain-1. This consistency makes the pattern easy to remember.
Continue until your square reaches the desired size. Most blanket squares use 5-7 rounds for consistency.
Round-by-Round Pattern Guide
| Round | Instructions | Total Clusters |
| Round 1 | Ch 3, [3 dc, ch 2] 4 times, join | 4 corners |
| Round 2 | Work corners [3 dc, ch 2, 3 dc] with ch 1 between | 8 clusters |
| Round 3 | Work corners and 1 cluster per side space | 12 clusters |
| Round 4+ | Continue pattern, adding 1 cluster per side each round | +4 per round |
This table helps you track your progress. Use it as a quick reference while working.
Common Mistakes and How to Fix Them
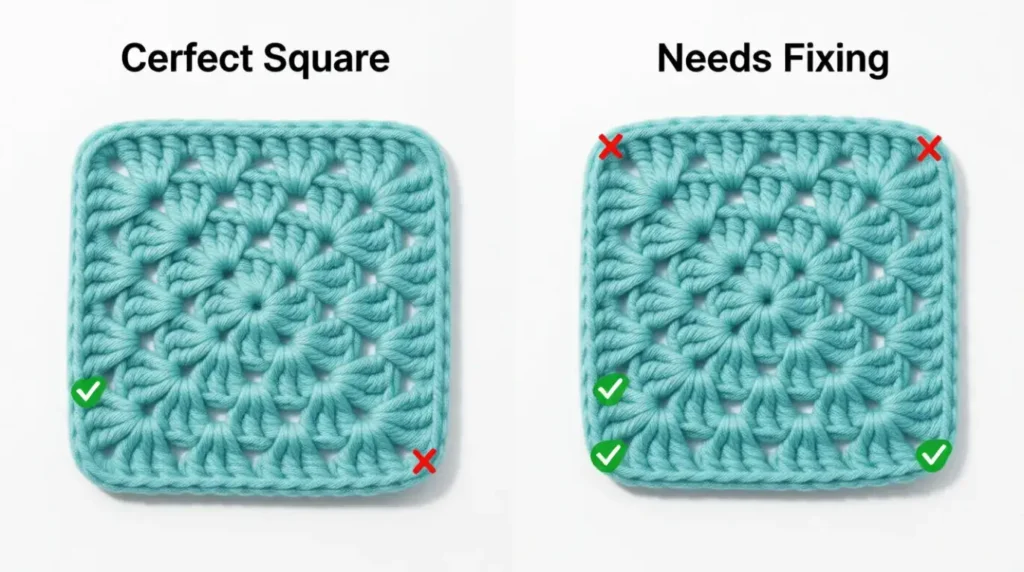
Even experienced crocheters make mistakes with granny squares. Knowing these common issues saves you time and frustration.
Uneven Corners
Your square looks more like a circle? This happens when corners aren’t sharp enough. The solution is simple: always chain exactly 2 in corner spaces.
Count your chains carefully. Too many chains create ruffled corners. Too few chains make the square buckle inward.
Lost Stitch Count
Losing track of where you are is frustrating. Use stitch markers in your first corner space. This marks your starting point clearly.
Count your clusters regularly. Each side should have the same number. If you find an error early, frogging one round is easier than redoing three.
Tension Issues
Inconsistent tension creates wonky squares. Your stitches should feel uniform. Not too tight, not too loose.
Practice maintaining steady tension throughout each round. Take breaks if your hands get tired. Fatigue leads to inconsistent stitching. Many free classic granny square pattern resources include tension tips specific to different yarn weights.
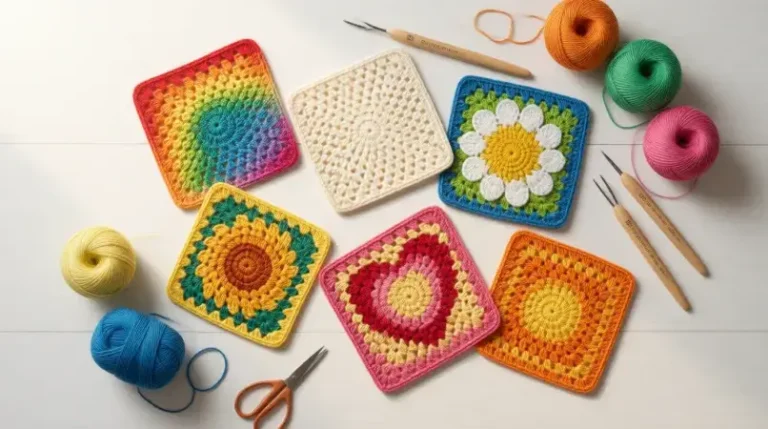
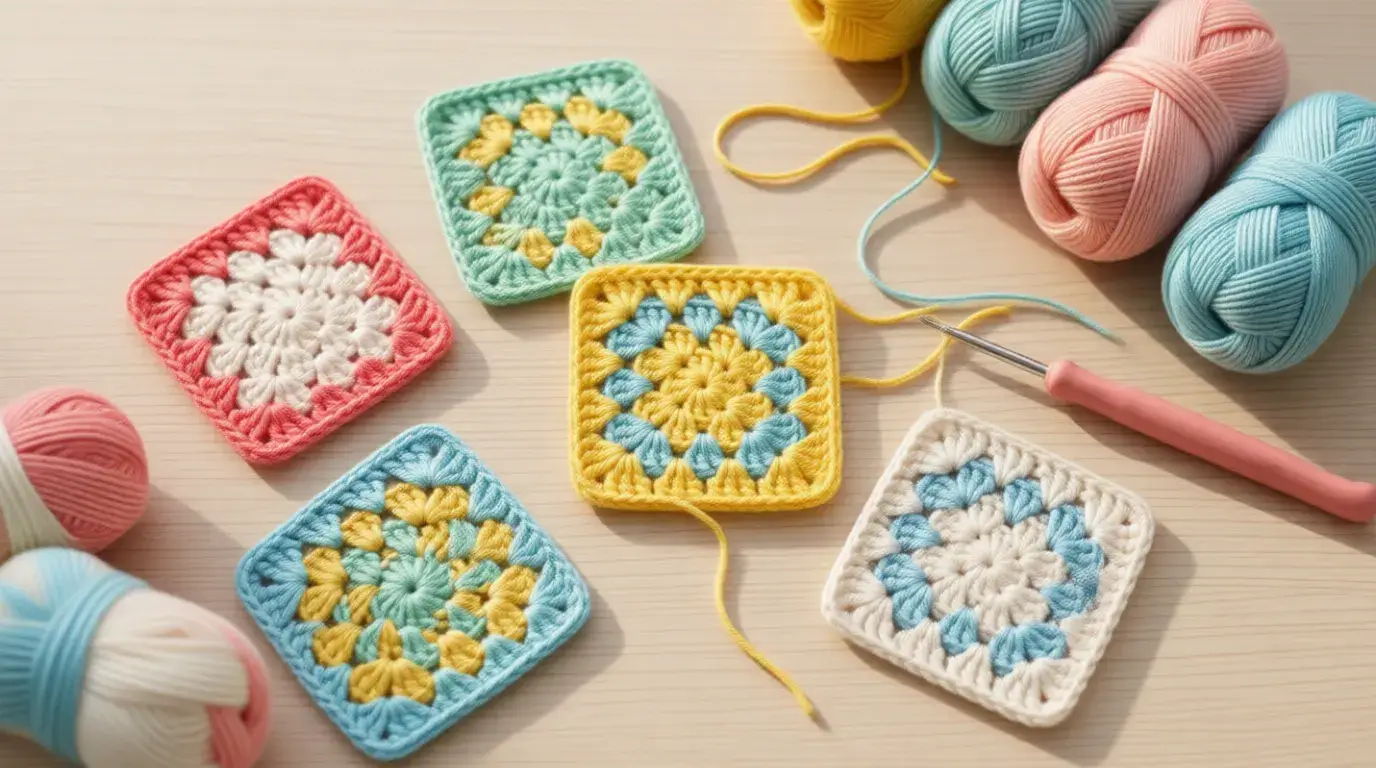
Creative Variations on the Classic Granny Square Pattern
Once you master the basics, experimentation begins. The classic structure supports endless creativity. Small changes create dramatically different results.
Color Changing Techniques
Changing colors between rounds creates stunning effects. Join your new color with a slip stitch at any corner. Carry the old color along if you’ll use it again soon.
Try these popular color schemes: rainbow progression, ombre gradients, or high-contrast stripes. Each approach gives your squares unique personality.
Solid vs. Open Variations
The classic pattern creates an open, lacy texture. For a denser fabric, work into spaces differently. You can also explore the solid granny square pattern which fills in the gaps for warmer projects.
Some crocheters work additional stitches in chain spaces. Others reduce the chain count. Each modification changes the drape and warmth of your finished piece.
Size Adjustments
Need bigger or smaller squares? Adjust your hook size. A larger hook with the same yarn creates bigger, airier squares. A smaller hook makes tighter, denser ones.
You can also change yarn weight. Bulky yarn works up quickly into large squares. Fingering weight creates delicate, tiny squares perfect for detailed work.
Pattern Variation Comparison
| Variation | Best For | Skill Level | Yarn Usage |
| Classic Open | Summer wraps, decorative pieces | Beginner | Low |
| Solid Filled | Winter blankets, warm accessories | Beginner | High |
| Multi-Color | Scrap yarn projects, vibrant afghans | Intermediate | Medium |
| Bulky Weight | Quick gifts, chunky throws | Beginner | Very High |
Choose the variation that matches your project goals and skill comfort level.
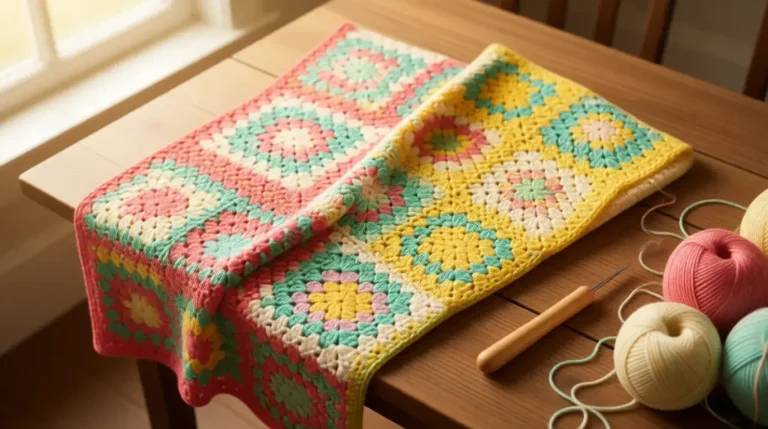
Joining Granny Squares Together
Individual squares become meaningful projects through joining. Several methods work well. Each creates different visual effects.
Whip Stitch Method
This traditional method creates an invisible seam. Place squares with right sides together. Thread your yarn needle. Whip stitch through the back loops of both squares.
The result looks clean and professional. It’s perfect when you want the focus on the squares themselves.
Join-As-You-Go Method
Why finish all squares before joining? The join-as-you-go technique connects squares during the final round. This saves time and creates a cohesive look.
Work your last round normally until you reach a corner. Slip stitch into the corresponding space on your completed square. Continue working, joining at each matching point.
Flat Slip Stitch Join
This method creates a decorative ridge on the right side. Place squares wrong sides together. Slip stitch through both loops of corresponding stitches. The raised line becomes a design feature. It works beautifully with contrasting yarn colors.
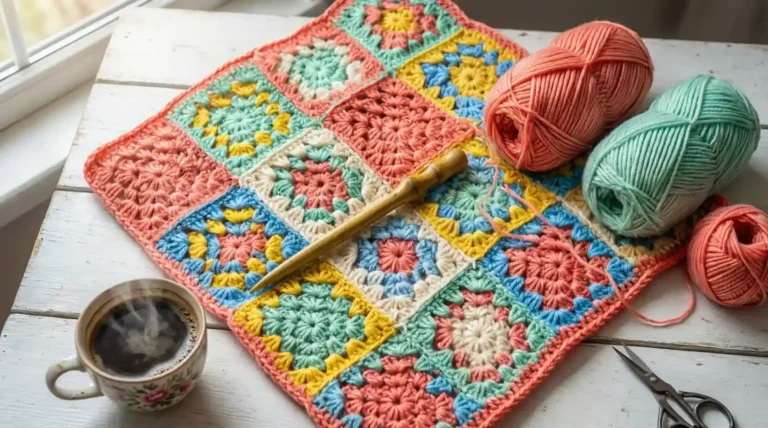
Project Ideas Using the Classic Granny Square Pattern
Ready to put your skills to work? These projects showcase what granny squares can do. Start with simpler ideas before tackling complex designs.
Beginner-Friendly Projects
These projects build confidence while creating useful items:
- Coasters (single 3-4 round squares)
- Dishcloths (5-6 round squares in cotton yarn)
- Simple scarves (6-8 squares joined lengthwise)
- Pillow covers (two large squares sewn together)
Each project teaches new skills. Coasters perfect your tension. Scarves practice joining techniques.
Intermediate Projects
Once comfortable with basics, try these challenges. Baby blankets need 20-30 squares. Tote bags require shaping and lining. Vests combine squares with strategic placement.
These projects introduce you to pattern reading beyond the basic square. You’ll learn to adapt measurements. You’ll understand how different yarns affect the final size. Looking for inspiration? Check out various crochet granny square patterns to see creative applications.
Advanced Applications
Experienced crocheters push boundaries with granny squares. Full-size afghans need careful planning. Garments require precise gauge and shaping knowledge. Wall hangings combine squares with embellishments.
These projects demand patience and precision. But they create heirloom-quality pieces that last generations.
Reading and Following Diagram Classic Granny Square Pattern
Visual learners love pattern diagrams. These symbolic representations show exactly where each stitch goes. Learning to read them opens up international patterns.
Common Symbol Meanings
Most diagram diagram classic granny square pattern uses universal symbols. A small circle represents chains. A T shape shows double crochet stitches. Ovals indicate the chain spaces.
Patterns typically include a symbol key. Reference it frequently when starting. Eventually, you’ll recognize symbols instantly.
Following the Flow
Diagrams show work direction with arrows or numbering. Most granny squares work counterclockwise. Start at the center and spiral outward.
Pay attention to where rounds begin and end. This prevents confusion about joining points. Many free resources show detailed diagram examples for the basic granny square pattern.
Troubleshooting Size and Gauge Issues
Getting consistent square sizes matters for most projects. Gauge variations frustrate even experienced crocheters. Understanding the causes helps you fix problems quickly.
Measuring Your Gauge
Make a test square with your chosen yarn and hook. Measure it flat, without stretching. Compare your measurements to the pattern specifications.
If your square is too small, go up a hook size. If it’s too large, go down a size. Sometimes half-size adjustments make the difference.
Blocking for Uniformity
Blocking transforms wavy squares into perfect shapes. Wet your completed square thoroughly. Pin it to a blocking board or towel. Stretch gently to desired measurements.
Let it dry completely before unpinning. The fibers set in the new shape. This step especially helps with acrylic and cotton yarns.
Common Issues and Solutions
| Problem | Cause | Solution |
| Square curls at edges | Tension too tight | Relax grip, use larger hook |
| Square too floppy | Tension too loose | Tighten grip, use smaller hook |
| Wavy sides | Too many stitches in sides | Count carefully, mark corners |
| Holes at corners | Chain-2 too large | Make chains tighter, block finished square |
Use this reference when problems arise. Most issues have simple fixes.
Frequently Asked Questions
How many rounds should I make for a classic granny square pattern blanket?
Most blanket squares use 5-7 rounds with worsted weight yarn. This creates squares roughly 6-8 inches across. For lap blankets, make 35-48 squares. Full-size blankets need 80-100 squares. Always make a test square first to check your gauge.
Where can I find a free classic granny square pattern PDF?
Many crochet websites offer classic granny square pattern free downloads. Check yarn manufacturer websites first. Ravelry has thousands of free patterns with diagrams. Library websites often have digital crochet books. Always verify the pattern includes a complete stitch guide.
What’s the easiest classic granny square pattern for complete beginners?
The traditional easy classic granny square pattern uses only double crochet clusters. Start with a magic ring or chain-4 center. Work four rounds using one color. This builds muscle memory without color-changing complexity. Practice three squares before attempting your first project.
How do I read a diagram classic granny square pattern?
Diagrams use symbols instead of written instructions. Small circles represent chains. T-shapes show double crochets. Start at the center and work counterclockwise following the arrows. Each round is typically shown in a different color or line style. Check the symbol key provided with the diagram diagram classic granny square pattern.
Can I use the pattern classic granny square pattern for garments?
Absolutely! Granny squares work beautifully for vests, cardigans, and skirts. The key is calculating gauge carefully. Make multiple test squares to ensure consistency. Plan your garment layout before starting. Join squares strategically to create shaping. Consider adding ribbed edges for better fit.
What makes a crochet classic granny square pattern different from modern variations?
The classic pattern uses three double crochet clusters separated by chain spaces. Modern variations might use different stitch combinations or cluster sizes. Some add texture with post stitches. Others incorporate color patterns within rounds. The classic version remains the most versatile and beginner-friendly option.
Conclusion
The classic granny square pattern offers endless creative possibilities. You’ve learned the foundational techniques that generations of crocheters use. From understanding the basic structure to joining finished squares, these skills build your crochet confidence.
Remember that perfect squares come with practice. Your first attempts might look uneven. That’s completely normal. Each square you make improves your tension and consistency.
Start with a simple project like coasters or a scarf. Master the basics before attempting complex blankets. Use quality materials that feel good in your hands. This makes the learning process more enjoyable.
Don’t be afraid to experiment with colors and yarns. The beauty of granny squares lies in their versatility. What starts as practice squares can become beautiful finished projects.
Grab your hook and yarn today. Make that first square. Join our community of crocheters who’ve discovered the joy of this timeless pattern. Your perfect granny square blanket is just one stitch away.