Solid Granny Square Pattern: Your Complete Guide to Gapless Crochet Perfection
Solid granny square patterns confuse many crocheters starting out. You follow the instructions, but somehow gaps appear everywhere. Your squares look messy, not polished like the photos online.
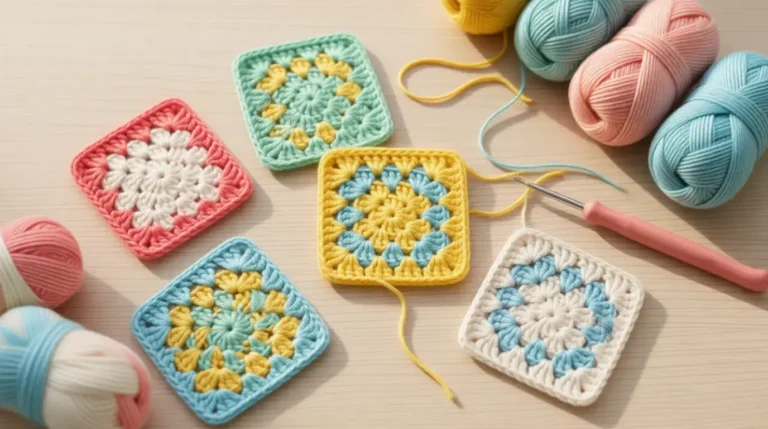
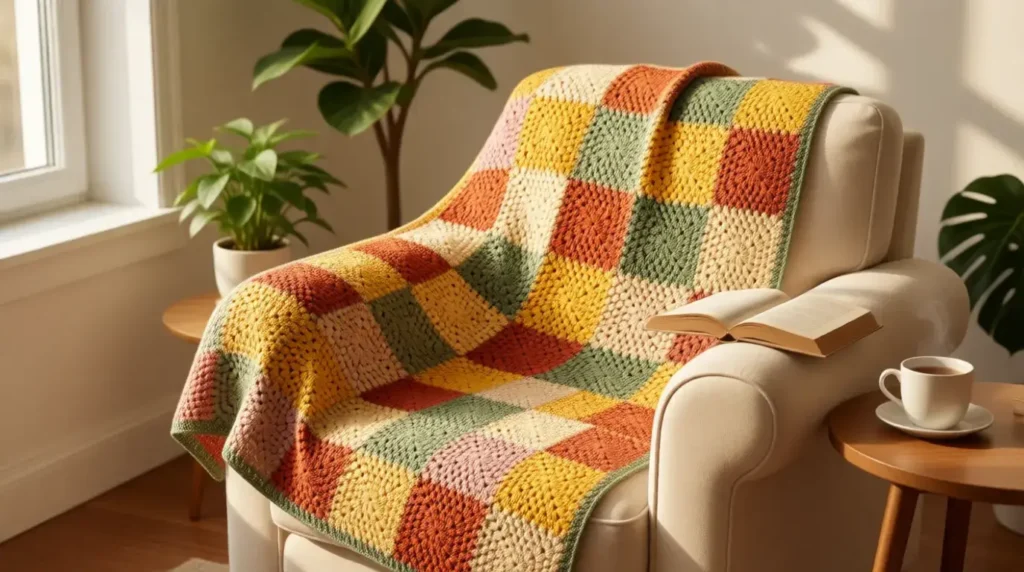
Here’s the truth: traditional granny squares have holes by design. Solid versions eliminate those gaps completely. They create a dense, fabric-like texture perfect for blankets, bags, and wearable items.
This guide shows you exactly how to master the solid granny square pattern. You’ll learn the basic technique, common variations, and pro tips. No more frustrating gaps or uneven edges.
What Makes a Solid Granny Square Different?
Traditional granny squares use chain spaces between clusters. Those chains create the iconic “holey” look everyone recognizes. It’s beautiful, but not always practical.
A solid granny square pattern works differently. Instead of chain spaces, you crochet directly into stitches. This fills every gap completely. The result? A thick, sturdy fabric with no see-through areas.
Why Choose Solid Over Traditional?
Solid squares offer serious advantages:
- Better warmth – No gaps means better insulation for blankets
- Professional finish – Creates polished, market-ready items
- Versatility – Works for bags, coasters, and clothing
- Durability – Denser fabric lasts longer with heavy use
- Color definition – Stripes and patterns show more clearly
The technique takes only slightly longer than regular granny squares. But the quality difference? Massive.
Common Problems Solved
Most crocheters face these issues with traditional patterns:
- Items stretch out of shape over time
- Blankets don’t provide enough warmth
- Gaps look unfinished or amateur
- Projects show wear quickly
Solid granny squares fix all these problems naturally. They maintain shape beautifully. They create professional-looking projects every time.
Basic Solid Granny Square Pattern Instructions
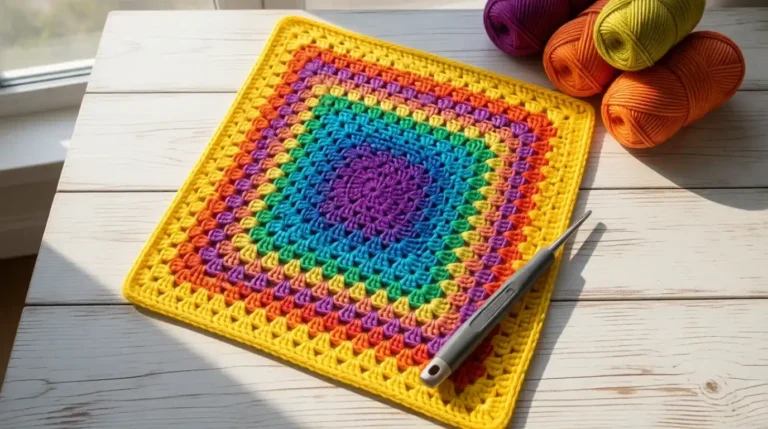
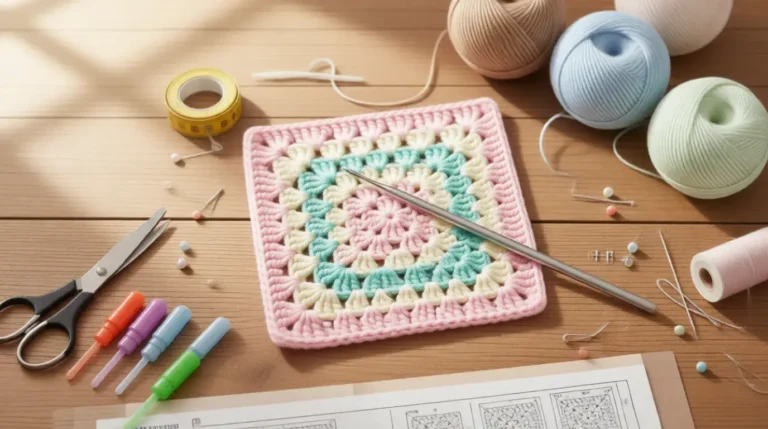
Let’s start with the foundation. This easy solid granny square pattern creates a 4-inch square. You can adjust size by adding more rounds.
Materials Needed
- Worsted weight yarn (any color)
- 5.0mm (H) crochet hook
- Scissors
- Tapestry needle
Round 1: The Center
Create a magic ring (or chain 4, join with slip stitch). Chain 3. This counts as your first double crochet.
Work 2 more double crochets into the ring. Chain 2. This creates your first corner.
Repeat: 3 double crochets, chain 2. Do this three more times. You’ll have four corners total.
Join with slip stitch to the top of starting chain-3. Pull your magic ring tight.
Round 2: Building the Solid Base
Chain 3 (counts as first double crochet). Work 2 double crochets in same space.
Here’s where solid squares differ: Work 3 double crochets in the NEXT stitch. Not in a chain space. Directly into the stitch.
Continue across until you reach the corner. In corner chain-2 space: work 3 double crochets, chain 2, 3 double crochets.
Repeat this pattern for all four sides. Join with slip stitch.
Round 3 and Beyond
Chain 3. Work 2 double crochets in same stitch.
Work 3 double crochets in each stitch across. At corners, work the standard corner (3 dc, chain 2, 3 dc).
Each round adds another cluster to each side. This creates the square shape while maintaining density.
Continue until your square reaches desired size. Most patterns use 4-6 rounds.
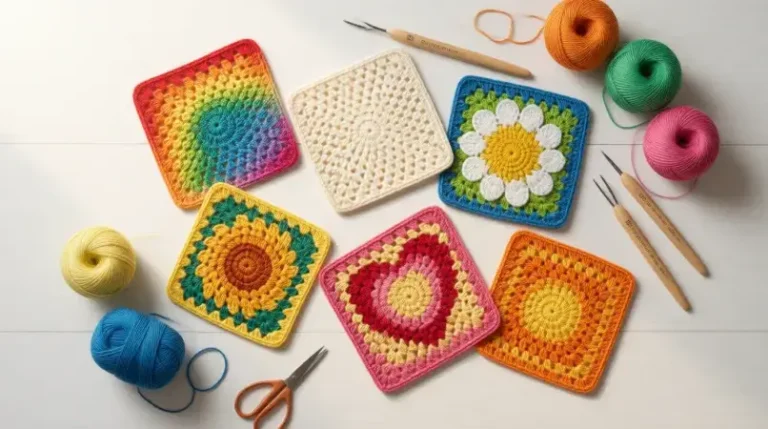
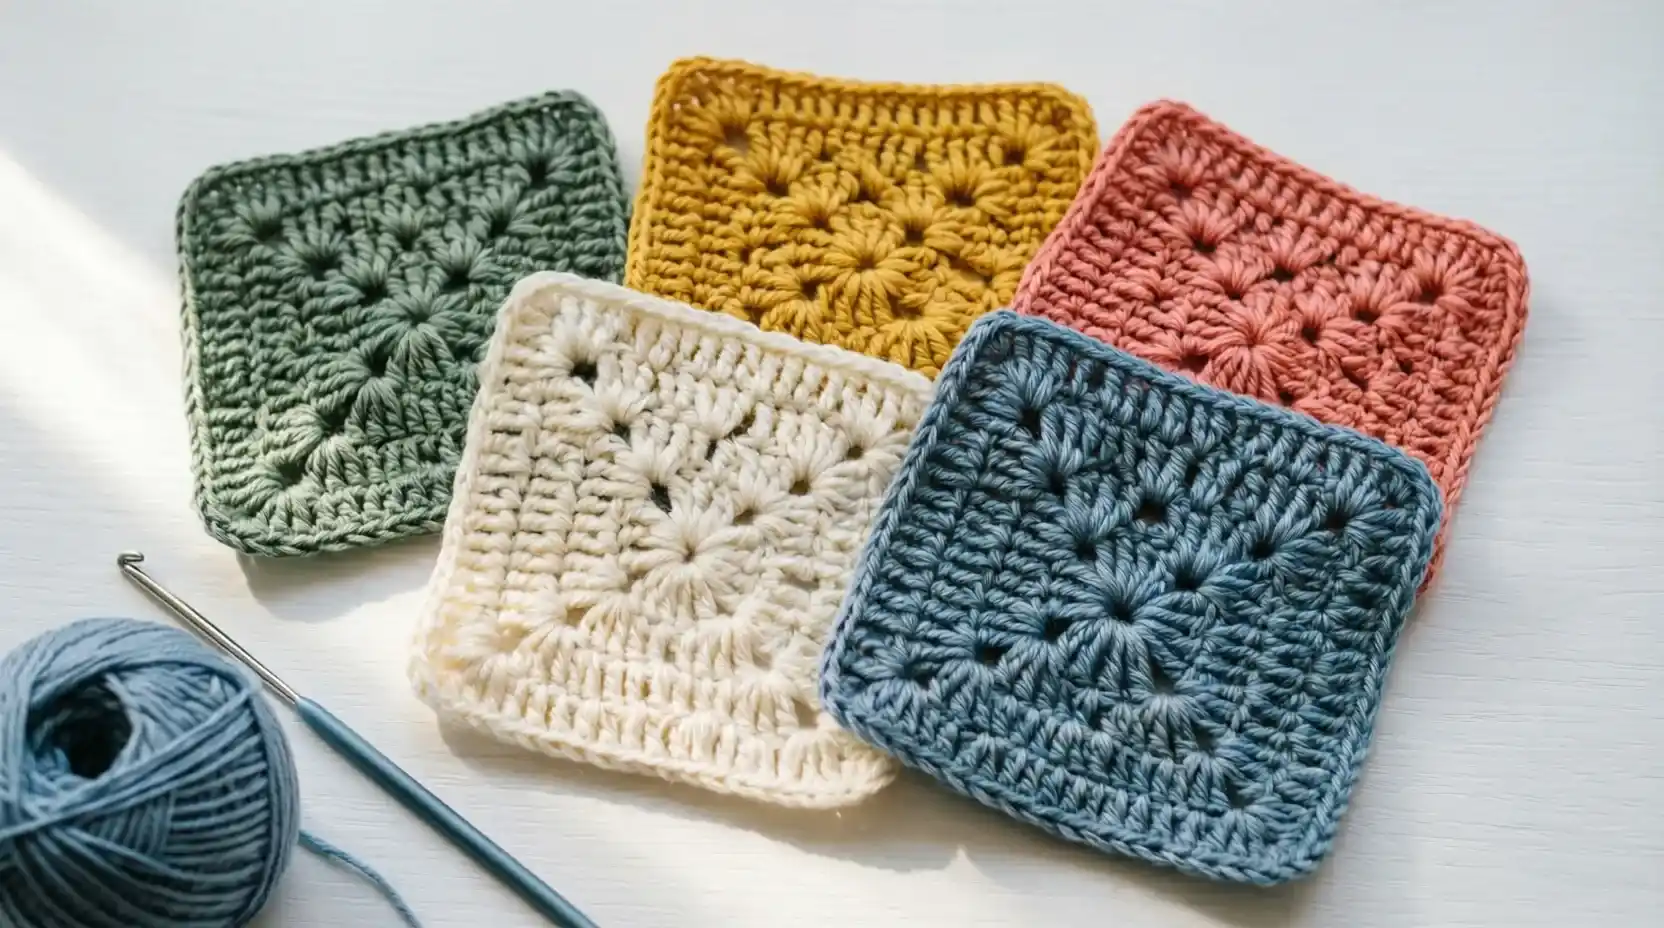
Free Solid Granny Square Pattern Variations
The basic pattern is just the beginning. These variations add interest while keeping that gapless finish.
Half Double Crochet Version
This creates an even denser fabric. Perfect for pot holders or trivets.
Use half double crochets instead of double crochets. The technique stays identical. The texture becomes tighter and flatter.
Super Solid Granny Square Pattern
Want maximum density? Try this version.
Work clusters of 4 stitches instead of 3. Use half double crochets throughout. The result? An incredibly thick, warm fabric.
This works brilliantly for winter blankets. It also makes excellent bag bases that hold shape.
Seamless Solid Granny Square Pattern
Traditional joins create visible lines. This method eliminates them.
Instead of chain 3 to start rounds, use standing stitches. Join each round in a different corner. This distributes the slight join mark evenly.
For truly seamless joins between squares, use the join-as-you-go method. Connect squares during your final round.
Diagram Solid Granny Square Pattern: Reading the Charts
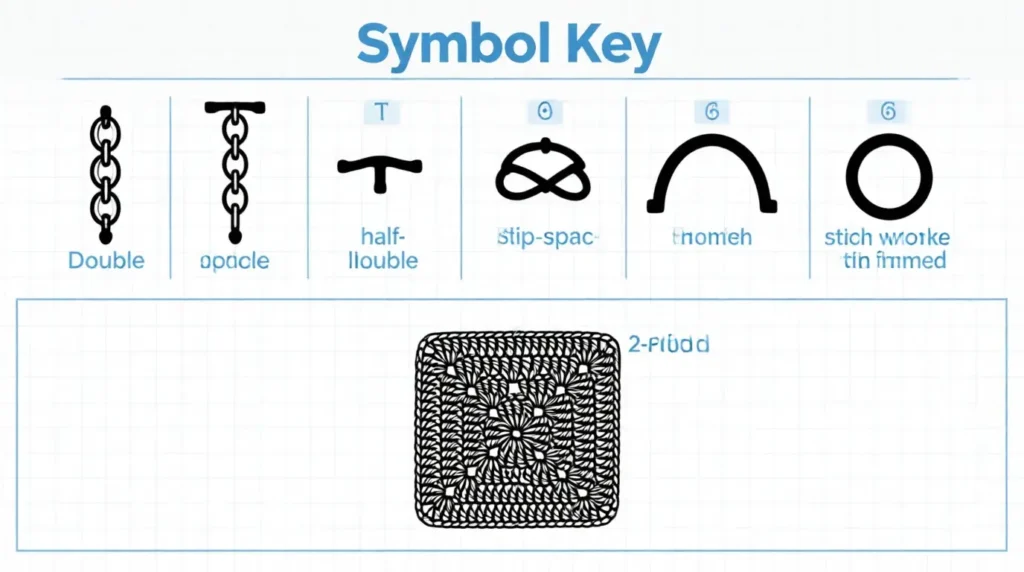
Visual learners prefer diagrams over written patterns. Here’s how to read them effectively.
Understanding Symbol Keys
Common symbols you’ll see:
- Oval – Chain stitch
- T shape – Double crochet
- Short T – Half double crochet
- Dot – Slip stitch
- Arch – Chain space
Solid patterns show stitches worked INTO other stitches. Traditional patterns show stitches worked AROUND chains.
Following the Pattern Flow
Start at the center circle. Read counterclockwise (or clockwise, depending on pattern).
Each round appears as a complete layer. Count the stitches carefully. One missed stitch throws off everything.
Most diagrams show only one quarter or half. The pattern repeats for remaining sections.
Crochet Solid Granny Square Pattern for Beginners
New to crochet? This simplified version builds your confidence.
Simple Solid Granny Square Pattern PDF Approach
Start with a small square. Use bright, contrasting colors for your first few. This helps you see stitches clearly.
Practice the same 4-round pattern multiple times. Muscle memory develops quickly. Your tension will even out naturally.
Common Beginner Mistakes
Mistake 1: Losing corner definition
Always chain 2 at corners, never 1 or 3. This maintains the 90-degree angle.
Mistake 2: Uneven tension
Grip your hook consistently. Don’t death-grip it. Let it rest naturally in your hand.
Mistake 3: Missing the last stitch
The final stitch of each side hides easily. Mark it with a stitch marker until you build confidence.
Building Your Skills
Create five practice squares using different yarn weights. Notice how hook size affects fabric density.
Try two rounds in one color, then switch. This helps you see round transitions clearly.
Block your finished squares. This reveals any tension issues to work on.
Solid Granny Square Pattern No Gaps: Troubleshooting Guide
Even experienced crocheters sometimes see gaps appearing. Let’s fix them.
Why Gaps Appear
Tension inconsistency – Your stitches vary in tightness. This creates small holes randomly.
Wrong hook size – Too large creates loose fabric. Too small makes your hands hurt.
Yarn splitting – Cheaper yarns split easily, leaving partial stitches.
The Fix for Each Problem
| Problem | Solution | Prevention |
|---|---|---|
| Loose stitches | Use smaller hook | Practice consistent tension |
| Yarn splitting | Switch to better yarn | Keep hook tip smooth |
| Uneven edges | Count stitches each round | Use stitch markers |
| Corner gaps | Work corners tighter | Add extra stitch before corner |
Testing Your Tension
Crochet a 4-inch square. Hold it up to light. See any pinpoints of light? Your tension needs work.
Try going down one hook size. Test again. Keep adjusting until zero light shows through.
Best Yarns for Solid Granny Square Patterns
Yarn choice matters more than most realize. The right yarn makes everything easier.
Top Yarn Characteristics
Tight twist – Prevents splitting during work. Holds stitch definition beautifully.
Consistent thickness – No thin or thick spots. Creates even fabric automatically.
Good drape – Softer yarns create more flexible squares. Stiffer yarns hold shape better.
Recommended Yarn Types
For blankets: Worsted weight acrylic blends work perfectly. They’re affordable, washable, and durable.
For bags: Cotton yarn provides structure. It doesn’t stretch out over time.
For wearables: Soft acrylics or bamboo blends feel comfortable. They drape naturally on the body.
For dishcloths: 100% cotton absorbs water best. Skip acrylic for kitchen items.
Color Considerations
Lighter colors show stitches more clearly. Great for learning and perfecting technique.
Darker colors hide minor tension issues. Better for your first project.
Variegated yarns create beautiful effects. But they can hide stitch counting mistakes.
Solid Granny Square Pattern PDF Free Download Options
Finding quality free patterns takes time. Here’s where to look effectively.
Reputable Pattern Sources
Ravelry – Thousands of free patterns with user reviews. Filter by difficulty and rating.
Yarnspirations – Major yarn brands offer free patterns. Quality control is excellent.
Bella Coco YouTube – Her solid granny square pattern Bella Coco tutorial helps thousands. Free written pattern available too.
What to Look For
Check pattern reviews before downloading. Low ratings indicate confusing instructions or errors.
Look for patterns with photos of each round. Visual guides prevent mistakes.
Verify the gauge information matches your yarn weight. This saves frustration later.
Organizing Your Collection
Create a digital folder system by project type. Blankets, bags, clothing, etc.
Print patterns you’ll use immediately. Keep others digital to save space.
Note which patterns you’ve tested. Add your own modifications and tips.
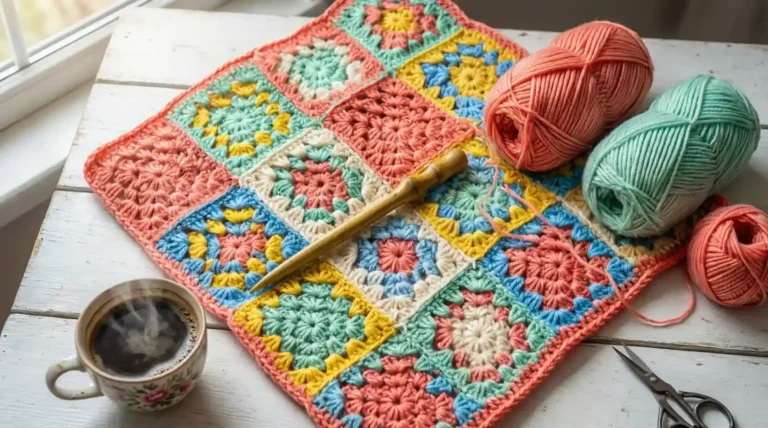
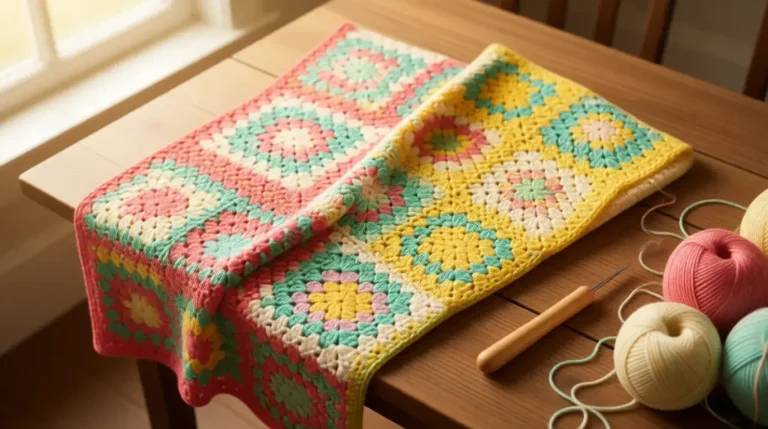
Creating Projects with Solid Granny Squares
Individual squares are just the beginning. Here’s how to turn them into finished items.
Joining Methods Compared
| Method | Pros | Cons | Best For |
|---|---|---|---|
| Whip stitch | Fast, invisible | Can be bulky | Blankets |
| Slip stitch | Strong, flat | Visible line | Bags |
| Single crochet | Very strong | Creates ridge | Pot holders |
| Join-as-you-go | No sewing | Requires planning | Any project |
Planning Your Layout
Sketch your design first. Count how many squares you need. Add 10% extra for mistakes.
Consider color placement carefully. Random looks chaotic. Planned gradients look professional.
For blankets, odd numbers work better visually. Try 5×7 or 7×9 layouts.
Finishing Techniques
Block each square before joining. This ensures uniform size. Steam blocking works fastest.
Weave in ends as you go. Don’t save this for the end. You’ll regret it.
Add borders to finished projects. Even one round of single crochet creates polish.
Advanced Tips for Perfect Solid Granny Squares
Ready to level up? These pro techniques create flawless results.
Invisible Color Changes
Don’t just tie on new yarn randomly. Plan color changes at corners.
Complete your final stitch in old color to last step. Yarn over with new color. Pull through.
This hides the change in the corner chain space. Much cleaner than mid-side changes.
Adjusting Square Size
Need specific dimensions? Calculate carefully.
Each round adds approximately 0.75 inches to each side. This varies by yarn weight and tension.
Test your gauge with a single square first. Then calculate total rounds needed.
Creating Perfect Corners
Corners can become dog-eared if you’re not careful. Fix this easily.
Work your corner chain-2 slightly tighter than other stitches. This prevents flaring.
On the next round, work INTO that chain space loosely. This balance creates perfect 90-degree angles.
Maintaining Consistent Shape
Squares sometimes become rectangles. Your tension isn’t identical in all directions.
Rotate your work counterclockwise for each round. This distributes tension differences.
Count stitches obsessively. One missed stitch grows into a noticeable problem quickly.
Small Solid Granny Square Pattern Applications
Tiny squares create unexpected opportunities. Don’t overlook them.
Coaster Sets
Use 3-round squares. They’re the perfect coaster size. Work them in cotton for water resistance.
Make sets of six in coordinating colors. They sell well at craft fairs.
Patchwork Embellishments
Create 2-inch squares as decorative elements. Sew them onto bags, hats, or clothing.
They add handmade charm without overwhelming the base item.
Scrap Yarn Projects
Small squares use up yarn scraps beautifully. Make a “memory blanket” from leftover project yarn.
Each square tells a story. It’s both practical and sentimental.
Learning and Practice
Master technique on small squares first. You’ll spot mistakes faster. You’ll waste less yarn correcting errors.
Complete a small square in 15-20 minutes. Perfect for testing new yarns or color combinations.
Exploring Related Patterns
Understanding related techniques expands your skills significantly. Check out the classic granny square pattern to see how traditional versions differ. The holes in traditional patterns serve specific purposes worth understanding.
The standard crochet granny square pattern teaches you foundation skills. Master it before attempting advanced solid variations. Your technique will be stronger overall.
For absolute beginners, start with the basic granny square pattern. Build your confidence there first. Then transition to solid versions naturally.
Frequently Asked Questions
What is a solid granny square pattern?
A solid granny square pattern creates dense, gapless fabric. Unlike traditional granny squares with chain spaces, you work directly into stitches. This eliminates all holes completely. The result is a thick, warm fabric perfect for blankets and bags.
How do I make a solid granny square with no gaps?
Work your stitches directly into previous stitches, not chain spaces. Use consistent tension throughout each round. Choose a hook size that creates tight fabric. Count stitches carefully to avoid missing any. This combination creates perfectly gapless squares.
Can I find a free solid granny square pattern PDF?
Yes, many websites offer free patterns. Check Ravelry, Yarnspirations, and popular crochet blogs. Look for patterns with good reviews and clear photos. Some designers offer PDF downloads directly from their websites. Always verify pattern accuracy through user comments first.
What’s the best yarn for solid granny square patterns?
Worsted weight yarn works best for most projects. Choose yarn with tight twist to prevent splitting. Acrylic blends offer durability and easy care. Cotton provides structure for bags. Softer yarns work better for wearables and blankets.
How is a solid granny square different from a basic granny square?
Basic granny squares use chain spaces between stitch clusters. These create decorative holes throughout the fabric. Solid versions eliminate chains and work into every stitch. This creates dense fabric with no see-through areas. Both use similar corner techniques.
Why does my solid granny square pattern have gaps?
Common causes include inconsistent tension, wrong hook size, or missed stitches. Your yarn may be splitting during work. Try a smaller hook for tighter fabric. Practice maintaining even tension. Count stitches each round to catch errors early.
Conclusion
The solid granny square pattern opens endless creative possibilities. You’ve learned the basic technique, troubleshooting methods, and project applications. No more frustrating gaps in your work.
Start with a simple 4-round square today. Practice the technique until your tension becomes consistent. Then explore variations that match your project needs.
Remember: perfect squares come from patient practice. Your first attempts might look wonky. That’s completely normal. Keep crocheting. Your skills improve with every square you complete.
Now grab your hook and yarn. Create something beautiful. Your first perfect solid granny square awaits.