Master the Basic Granny Square Pattern: Your Complete Guide to Crochet Success
The basic granny square pattern is where every crochet journey truly begins. You’ve probably seen these colorful squares everywhere—blankets, bags, even clothing. But starting can feel overwhelming when you’re staring at cryptic abbreviations and confusing diagrams.
Here’s the truth: granny squares are actually simple once you understand the core concept. You don’t need years of experience or fancy tools. Just a hook, some yarn, and the right guidance will get you creating beautiful squares in one afternoon.
This guide breaks down everything you need to know. You’ll learn the exact stitches, avoid common beginner mistakes, and discover variations to keep things interesting. By the end, you’ll confidently create your first granny square—and probably won’t want to stop at just one.
Let’s transform those confusing patterns into your new favorite crochet project.
What Makes the Basic Granny Square Pattern Special
The granny square revolutionized crochet in the 1970s. It became famous for good reason—the design is forgiving and endlessly customizable.
Why beginners love this pattern:
- Works up quickly, giving instant satisfaction
- Mistakes are easy to spot and fix
- Uses basic stitches you probably already know
- Perfect for using up yarn scraps
- Creates portable projects you can work anywhere
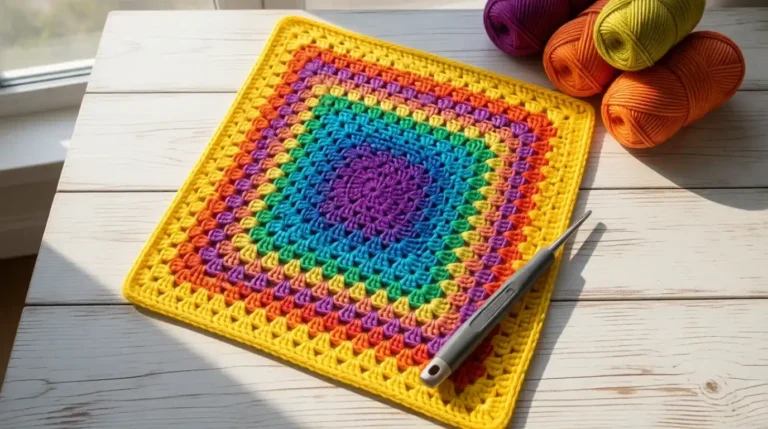
Traditional granny squares start from the center and work outward in rounds. Each round builds on the previous one using clusters of double crochet stitches. The spaces between clusters create the characteristic “holes” that give granny squares their vintage charm.
The pattern repeats in a predictable way. Once you complete one round, you’ve essentially learned the entire pattern. Every subsequent round follows the same logic—just bigger.
The Basic Structure Explained
Every basic granny square pattern has three essential components:
1. The Magic Ring (or Chain Ring) This creates your starting point. Most modern patterns use a magic ring for a tight center. Traditional versions start with a chain-4 joined into a ring.
2. The Corner Clusters These are groups of three double crochet stitches separated by chain spaces. Corners always get extra chain spaces—typically chain-2 instead of chain-1.
3. The Side Clusters Between corners, you place additional cluster groups. Each round adds more clusters along the sides as your square grows larger.
Understanding this structure means you can crochet any size square without constantly checking the pattern.
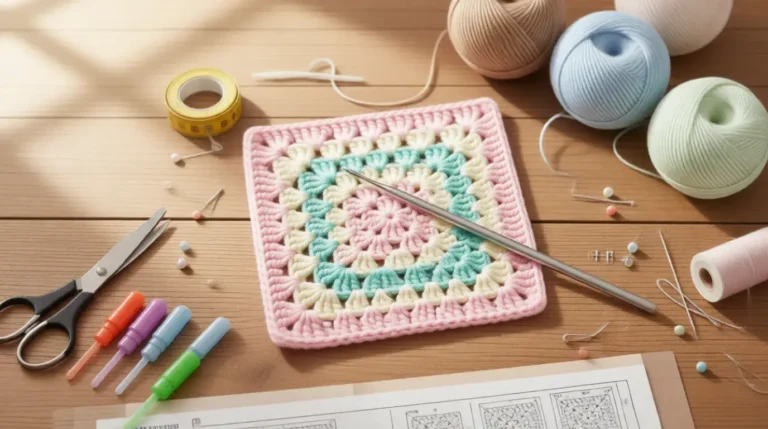
Essential Materials for Your Basic Granny Square Pattern
Starting right means having the right supplies. Good news—you don’t need much.
Yarn Selection Guide
| Yarn Weight | Best For | Hook Size | Square Size |
|---|---|---|---|
| DK/Light Worsted | Delicate blankets, clothing | 4.0-4.5mm | 4-5 inches |
| Worsted Weight | All-purpose projects | 5.0-5.5mm | 5-6 inches |
| Chunky | Quick blankets, pillows | 6.0-8.0mm | 7-9 inches |
Cotton yarn works beautifully for dishcloths and summer projects. It has excellent stitch definition so you can see your work clearly. Plus, it’s machine washable—perfect for practical items.
Acrylic yarn gives you affordability and durability. It comes in every color imaginable and holds up well to repeated washing. Great for blankets and bags that need to withstand heavy use.
Wool blends provide warmth and a premium feel. They’re ideal for winter accessories and heirloom pieces. The natural elasticity makes crocheting easier on your hands.
Hook Size Matters More Than You Think
Match your hook to your yarn weight. Check the yarn label for recommendations, then adjust based on your tension.
Crochet too tight? Go up one hook size. Your stitches will flow more easily and your hands won’t cramp.
Crochet too loose? Drop down a size. Your squares will hold their shape better and look more polished.
Step-by-Step Basic Granny Square Pattern Instructions
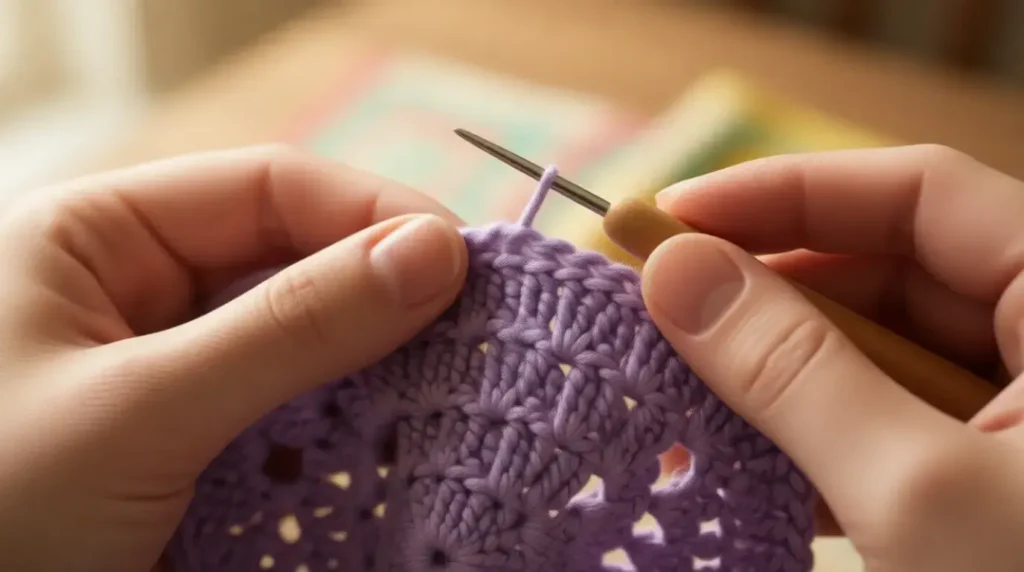
Ready to create your first square? Follow these steps exactly.
Round 1: Creating the Foundation
Start with a magic ring or chain-4 joined with a slip stitch. This forms your center ring.
Chain 3 (counts as your first double crochet). Work 2 more double crochets into the ring. You’ve made your first cluster.
Chain 2 for the corner space. Make another 3-double-crochet cluster in the ring. Repeat this pattern until you have four clusters total with chain-2 spaces between them.
Join with a slip stitch to the top of your starting chain-3. Pull the magic ring tight if you used one. You’ve completed Round 1.
Round 2: Building the Square Shape
Slip stitch into the next two stitches and into the corner space. This positions you correctly to start the new round.
Chain 3 (first double crochet). Work 2 double crochets in the same corner space. Chain 2. Work 3 more double crochets in that same space. You’ve made your first corner.
Chain 1 and move to the next corner space. Repeat the corner pattern: 3 double crochets, chain 2, 3 double crochets. Continue around all four corners.
Join to the starting chain-3. Your square is taking shape.
Round 3 and Beyond: Expanding Your Square
Each new round follows the same basic logic. Start in any corner space.
In corner spaces: Always work (3 double crochets, chain 2, 3 double crochets).
Along the sides: Work (3 double crochets, chain 1) in each chain-1 space from the previous round.
The number of clusters along each side increases by one with every round. Round 3 has one cluster between corners. Round 4 has two and, round 5 has three. The pattern continues predictably.
Want a bigger square? Just keep adding rounds using this same formula.
Common Mistakes and How to Fix Them
Even experienced crocheters make these errors. Catch them early and save yourself frustration.
Mistake 1: Uneven Sides
Your square looks more like a wonky rectangle? You’re probably miscounting stitches or spaces.
The fix: Count your clusters on each side. They should match exactly. Mark your corners with stitch markers so you never lose track.
Mistake 2: Gaps and Holes
Seeing unexpected spaces in your work? Your tension is likely inconsistent.
The fix: Try to maintain even pressure on your yarn. Take breaks if your hands get tired—fatigue causes loose stitches. Consider going down one hook size for tighter fabric.
Mistake 3: Curling Edges
Squares that won’t lie flat usually have too-tight corners or too-loose sides.
The fix: Check that corner chain spaces actually have 2 chains. One chain won’t give enough room for the fabric to turn the corner properly. Also verify you’re chaining 1 between side clusters—forgetting this causes bunching.
Mistake 4: Confusion Between Rounds
Lost track of where you are? It happens when rounds blend together visually.
The fix: Use a removable stitch marker at the beginning of each round. Move it up as you work. Different colored markers for different rounds can help even more.
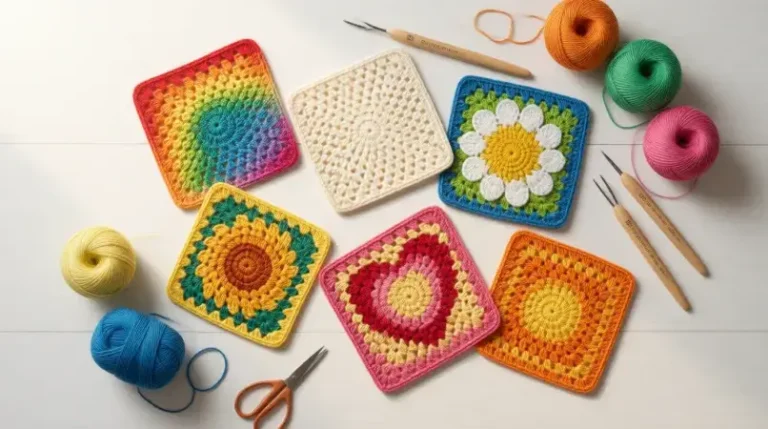
Free Basic Granny Square Pattern Variations
The traditional square is just the beginning. These variations use the same skills but create different looks.
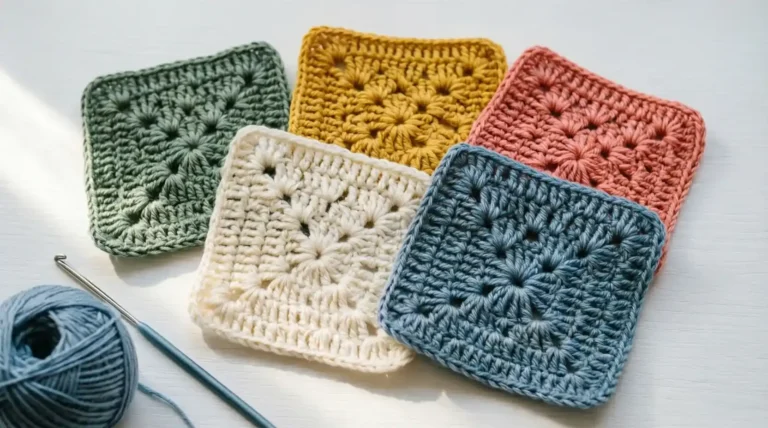
Solid Color Classic
Best for: Beginners wanting to master technique before adding complexity.
Work all rounds in one color. This lets you focus entirely on stitch placement without worrying about color changes. Your finished squares will have a clean, modern appearance perfect for contemporary projects.
Striped Rainbow Square
Best for: Using up scrap yarn and adding visual interest.
Change colors with each round. Simply fasten off your old color and join the new one in any corner space. The color transitions create natural frames around each round.
Pro tip: Weave in ends as you go instead of saving them all for the end. You’ll thank yourself later.
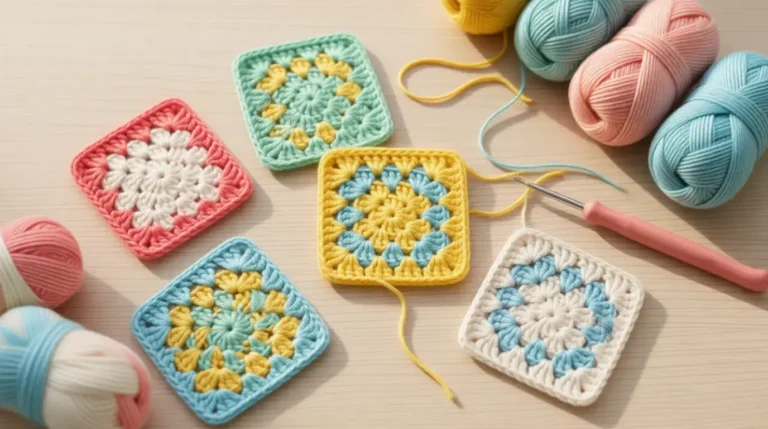
Floral Center Square
Best for: Adding a focal point to your designs.
Use a contrasting color for Round 1. Switch to your main color for remaining rounds. The center “flower” creates a medallion effect that looks intricate but requires no extra skill.
This granny square pattern technique works beautifully for blankets with repeating motifs.
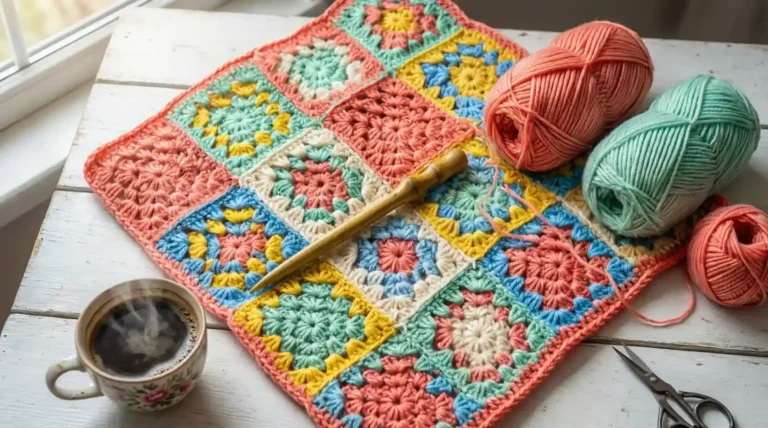
Joining Your Basic Granny Squares: Methods That Work
Single squares are nice, but connecting them creates finished projects. Choose your joining method based on your desired look.
Whip Stitch Join (Invisible Method)
Place squares wrong sides together. Using a yarn needle, whip stitch through both loops along the edges.
Advantages: Creates a flat, nearly invisible seam. Perfect for blankets where you want squares to appear continuous.
Disadvantages: Takes more time than other methods. Requires good tension control for even results.
Single Crochet Join (Textured Method)
Hold squares with right sides together. Single crochet through both layers along the edges.
Advantages: Creates a decorative ridge on the right side. Adds structural stability. Works up faster than sewing.
Disadvantages: More visible than whip stitch. Uses slightly more yarn.
Join-As-You-Go Method
Connect squares while completing the final round of each new square. Requires planning your layout in advance.
Advantages: No separate joining step needed. All ends woven in as you work. Most time-efficient method overall.
Disadvantages: Difficult to rearrange squares later. Mistakes require more unraveling to fix.
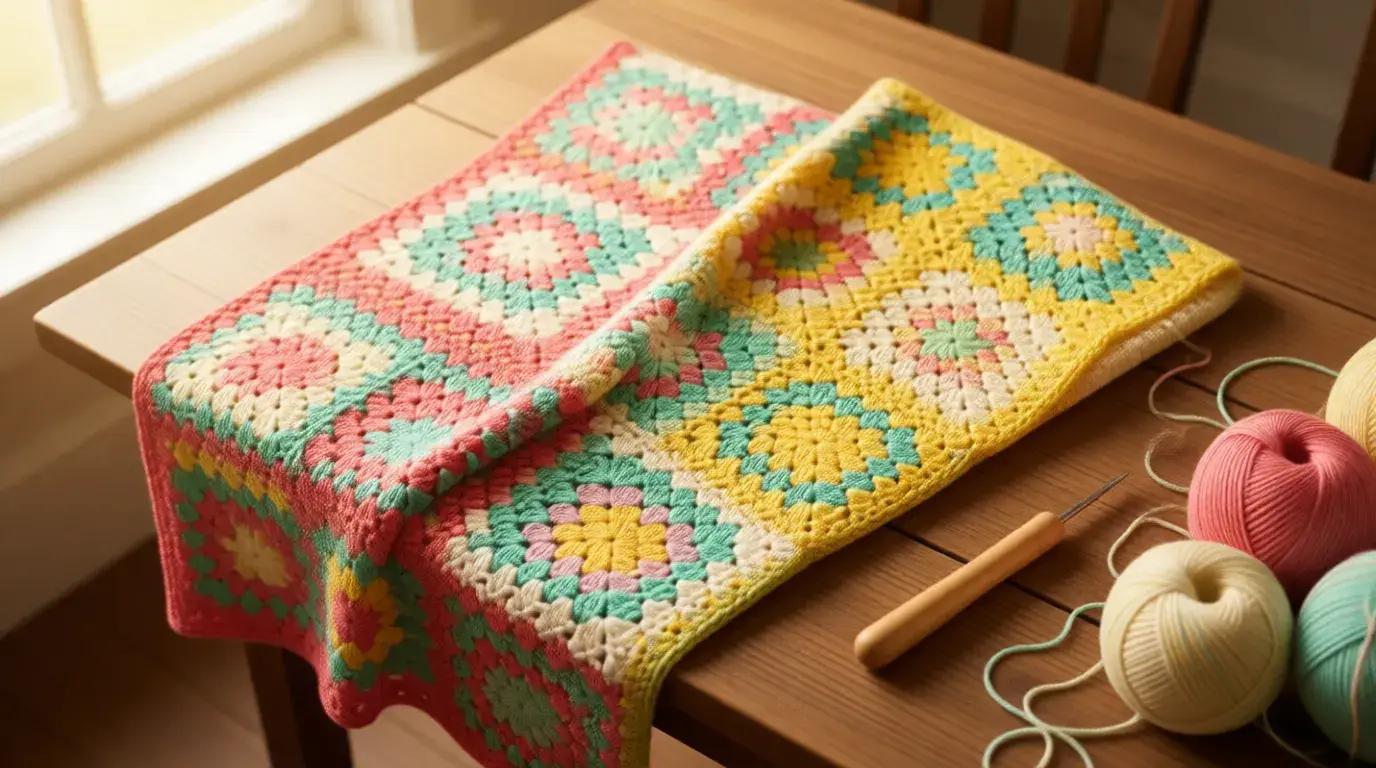
Basic Granny Square Pattern Projects for Beginners
Finished your first squares? Try these beginner-friendly projects.
Lap Blanket (30-35 Squares)
Make squares in 5-6 colors using worsted weight yarn. Arrange in a 5×6 or 7×5 grid. This size works perfectly for couch cuddles without overwhelming new crafters.
Time investment: 15-20 hours for confident beginners.
Patchwork Pillow Cover (9-12 Squares)
Create a 3×3 or 3×4 arrangement. Add a simple backing in coordinating fabric or single crochet. Instant home décor that actually looks professional.
Time investment: 4-6 hours.
Simple Tote Bag (12-16 Squares)
Join squares into two rectangles for front and back panels. Add a solid bottom and handles. You’ve got a sturdy bag for farmers’ markets or beach trips.
Time investment: 8-10 hours including assembly.
This crochet granny square pattern approach works for countless other projects too—coasters, scarves, even clothing.
Reading a Basic Granny Square Pattern Diagram
Visual learners often prefer diagrams over written instructions. Here’s how to decode them.
Symbol Key Basics
| Symbol | Meaning | Action |
|---|---|---|
| Oval or circle | Magic ring or chain ring | Starting point |
| Vertical line with top bar | Double crochet | Yarn over, insert hook, complete stitch |
| Small circle | Chain stitch | Yarn over, pull through loop |
| Dot or small oval | Slip stitch | Insert hook, pull yarn through both loops |
Reading Direction
Diagrams typically show one quarter or one complete round of the pattern. You read them counterclockwise (right to left for right-handed crocheters).
The center shows where to start. Each round moves outward. Numbers indicate the order of rounds when shown.
Corner identification: Look for larger chain spaces with clusters on both sides. These always mark corners.
Side sections: Smaller chain spaces between clusters indicate the straight sides of your square.
Print diagrams for easy reference while working. Plastic page protectors let you mark your place without damaging the pattern.
Advanced Tips for Perfect Basic Granny Squares
Ready to level up? These techniques create more polished results.
Invisible Join Technique
Traditional joins create a visible jog where rounds connect. The invisible join eliminates this for seamless rounds.
After your final stitch, cut yarn leaving a 6-inch tail. Thread it through a yarn needle. Insert the needle under both loops of the first stitch (the top of your starting chain-3). Pull through, then insert back down through the center of your last stitch. Pull tight and weave in.
Your rounds now appear to spiral continuously instead of having a distinct start and stop point.
Blocking for Professional Results
Wet blocking transforms lumpy, uneven squares into perfectly uniform pieces. Fill a spray bottle with water. Lay your square on a blocking mat or towel. Spray until damp (not soaking). Pin edges to form a perfect square using rust-proof pins. Let dry completely—usually overnight.
The difference is dramatic. Stitches even out, corners sharpen, and the overall appearance becomes much more refined.
Consistent Tension Control
Even tension creates even squares. Practice holding your yarn the same way every time. Whether you wrap it around your pinky or use another method, consistency matters more than the specific technique.
Take breaks when you notice your stitches tightening or loosening. Fatigue affects tension more than most realize. Five-minute breaks every 30 minutes maintain quality throughout your project.
Troubleshooting Your Basic Granny Square Pattern
Still having issues? These solutions address the most persistent problems.
Problem: Squares Different Sizes
Made multiple squares but they don’t match? Even small tension variations create size differences.
Solution: Block all squares to the same dimensions before joining. Measure your first completed square and use it as the template. Pin all subsequent squares to match exactly during blocking.
Problem: Difficulty Seeing Stitches
Dark yarn or fuzzy texture makes counting stitches nearly impossible.
Solution: Work near a bright light source. White or light-colored fabric underneath dark yarn improves visibility dramatically. For fuzzy yarn, try a smaller hook to tighten stitches and make them more distinct.
Problem: Running Out of Yarn Mid-Project
Nothing’s worse than needing just one more square but having no matching yarn.
Solution: Calculate yarn needs before starting. One 3.5oz skein of worsted weight yarn typically makes 8-10 five-round squares. Buy extra—you can always use leftovers for other projects. Keep labels to match dye lots if you need more.
Frequently Asked Questions
How many rounds do I need for a basic granny square pattern?
Most basic granny square patterns work five to seven rounds. This creates a square roughly 5-6 inches with worsted weight yarn. However, you can stop after any completed round. Smaller squares (3-4 rounds) work well for coasters. Larger squares (8+ rounds) reduce the number of pieces needed for big projects like blankets.
Can I use a basic granny square pattern for beginners without experience?
Absolutely. The basic granny square pattern for beginners requires only three stitches: chain, double crochet, and slip stitch. If you can make these stitches, you can make a granny square. Start with light-colored, smooth yarn in worsted weight. This makes stitches easy to see and count. Your first square might look imperfect—that’s normal and expected.
Where can I find a printable basic granny square pattern pdf free download?
Many craft websites offer a basic granny square pattern pdf free download. Look for patterns that include both written instructions and diagrams. Verify the pattern uses standard US crochet terminology unless you’re in the UK. Save multiple versions to compare—seeing the same pattern explained differently often clarifies confusing steps.
What’s the difference between US and basic granny square pattern UK versions?
The basic granny square pattern UK uses different terminology for the same stitches. What Americans call “double crochet,” UK patterns call “treble crochet.” UK “double crochet” equals US “single crochet.” The actual stitching technique stays identical—only the names change. Always check which terminology your pattern uses before starting.
How do I make my crochet basic granny square pattern squares all the same size?
Use the same yarn and hook for every square in your project. Count rounds carefully—each square needs identical round numbers. Maintain consistent tension throughout. Block all completed squares to the same measurements before joining. Measure width and length; they should match exactly. Pin squares during blocking to enforce uniform dimensions.
Can I adapt a free basic granny square pattern to make different shapes?
Yes. The granny square technique adapts to rectangles, triangles, and hexagons. For rectangles, work more rounds on two opposite sides and for triangles, start with three corners instead of four. For hexagons, create six corners in your foundation round. The basic concept—clusters separated by chain spaces—remains the same across all shapes.
Conclusion
The basic granny square pattern opens doors to endless crochet possibilities. You’ve learned the essential stitches, common variations, and troubleshooting techniques.
Start with just one square today. Choose yarn you love and a comfortable hook size. Follow the step-by-step instructions and be patient with yourself.
Your first square might not be perfect—that’s completely fine. Each square you make improves your technique and builds confidence. Before you know it, you’ll be designing your own color combinations and creating beautiful finished projects.
Most importantly, remember why you started. Crochet should bring joy, not stress. If you make a mistake, simply unravel and try again. Every crocheter, no matter how experienced, still learns something new with each project.
Grab your hook and yarn. Your first granny square awaits. You’ve got this.